Easy instructions on how to make a heart-shaped cake from a box mix and store-bought frosting. This tutorial is perfect for beginner bakers who want to make something extra special for Valentine’s Day. If you have kids, this is a fun way to get them involved in the kitchen!
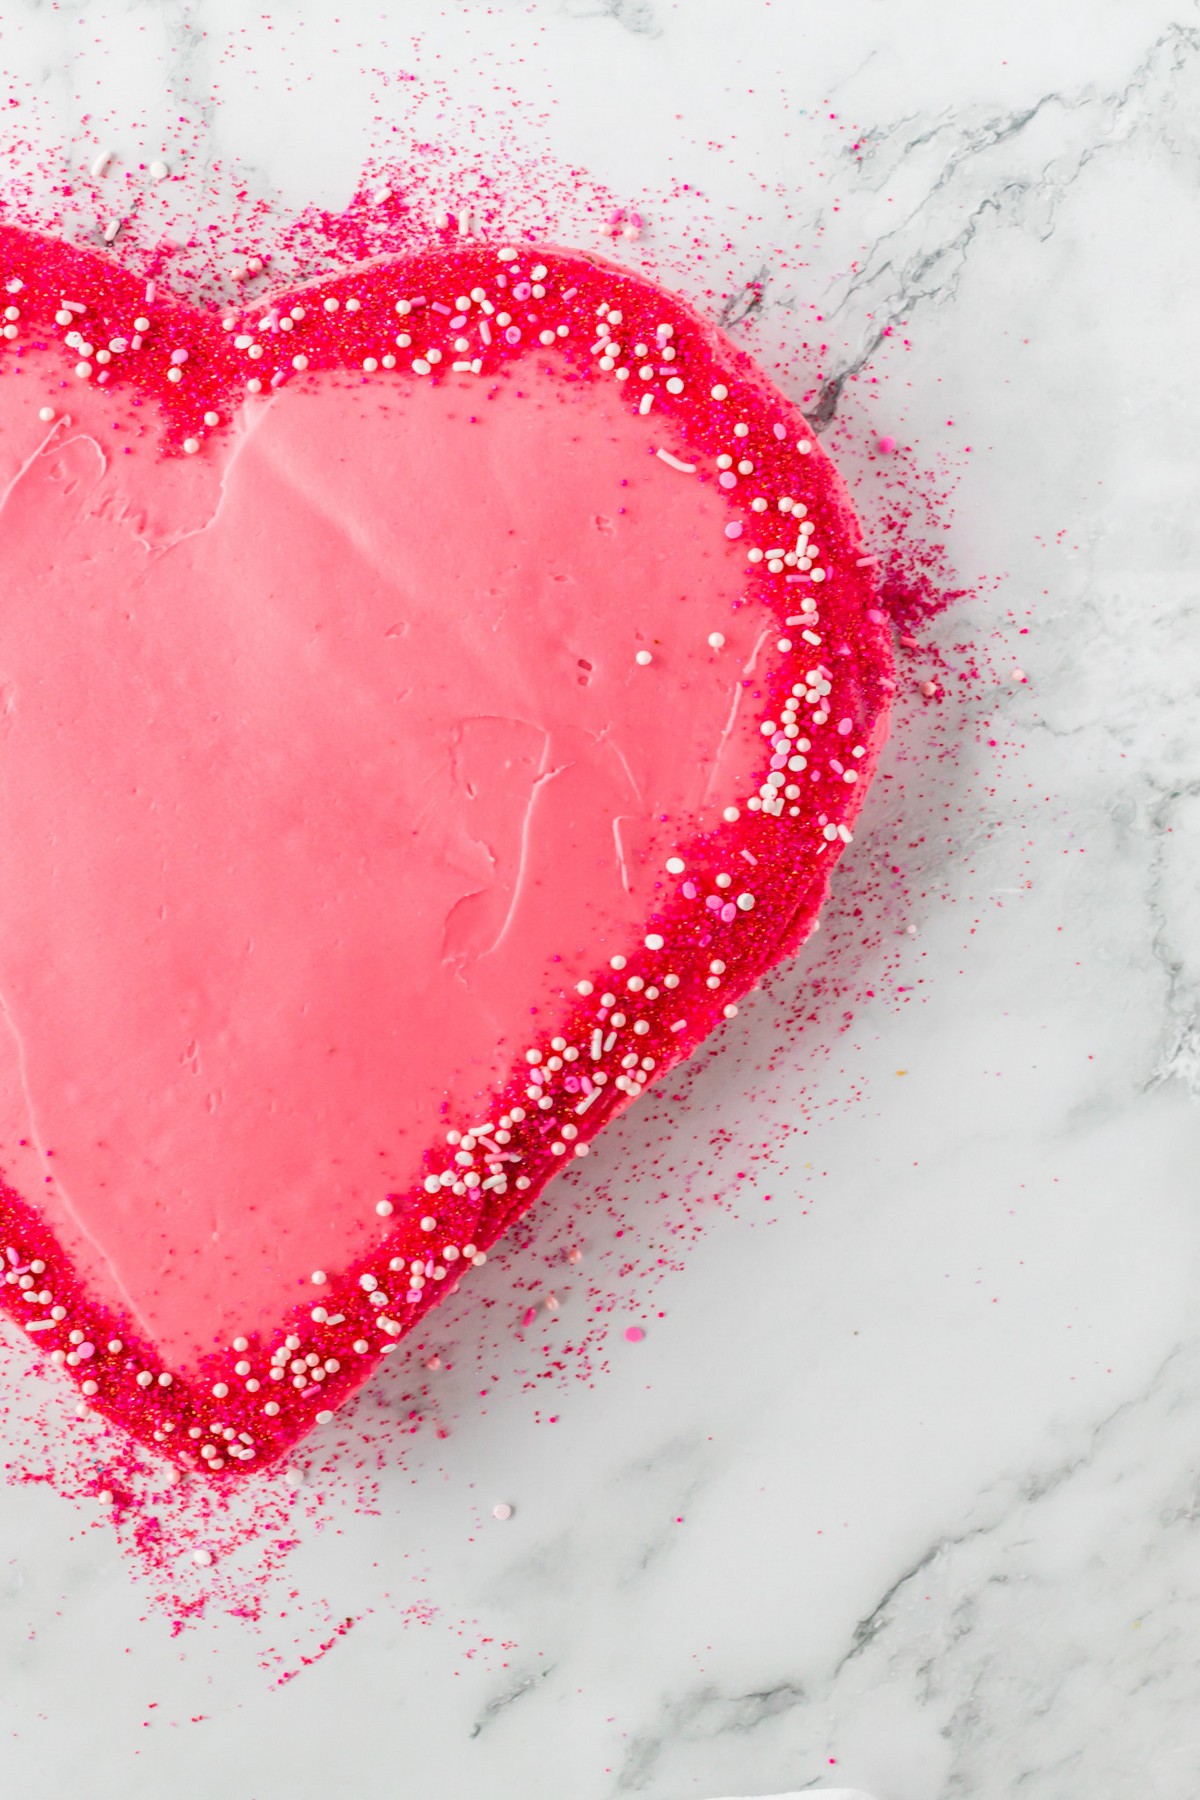
I consider myself a successful baker when the box mix comes out just right. With that said, anyone can create this special treat for Valentine’s Day. It’s so easy and doesn’t require purchasing a heart-shaped mold you will use only once a year.
This is great for kids to have fun with. They can change the color of the frosting with a few drops of food coloring and add as many sprinkles as they like. I encourage you to let your kids rule with their creative reign. It’ll be fun and special for everyone involved!
The Perfect Valentine’s Day Cake
This tutorial uses store-bought cake mix and frosting, but feel free to make your own homemade cake and icing if you prefer. Recipes that yield a 9×13 cake or two 8-inch cakes work best for this recipe.
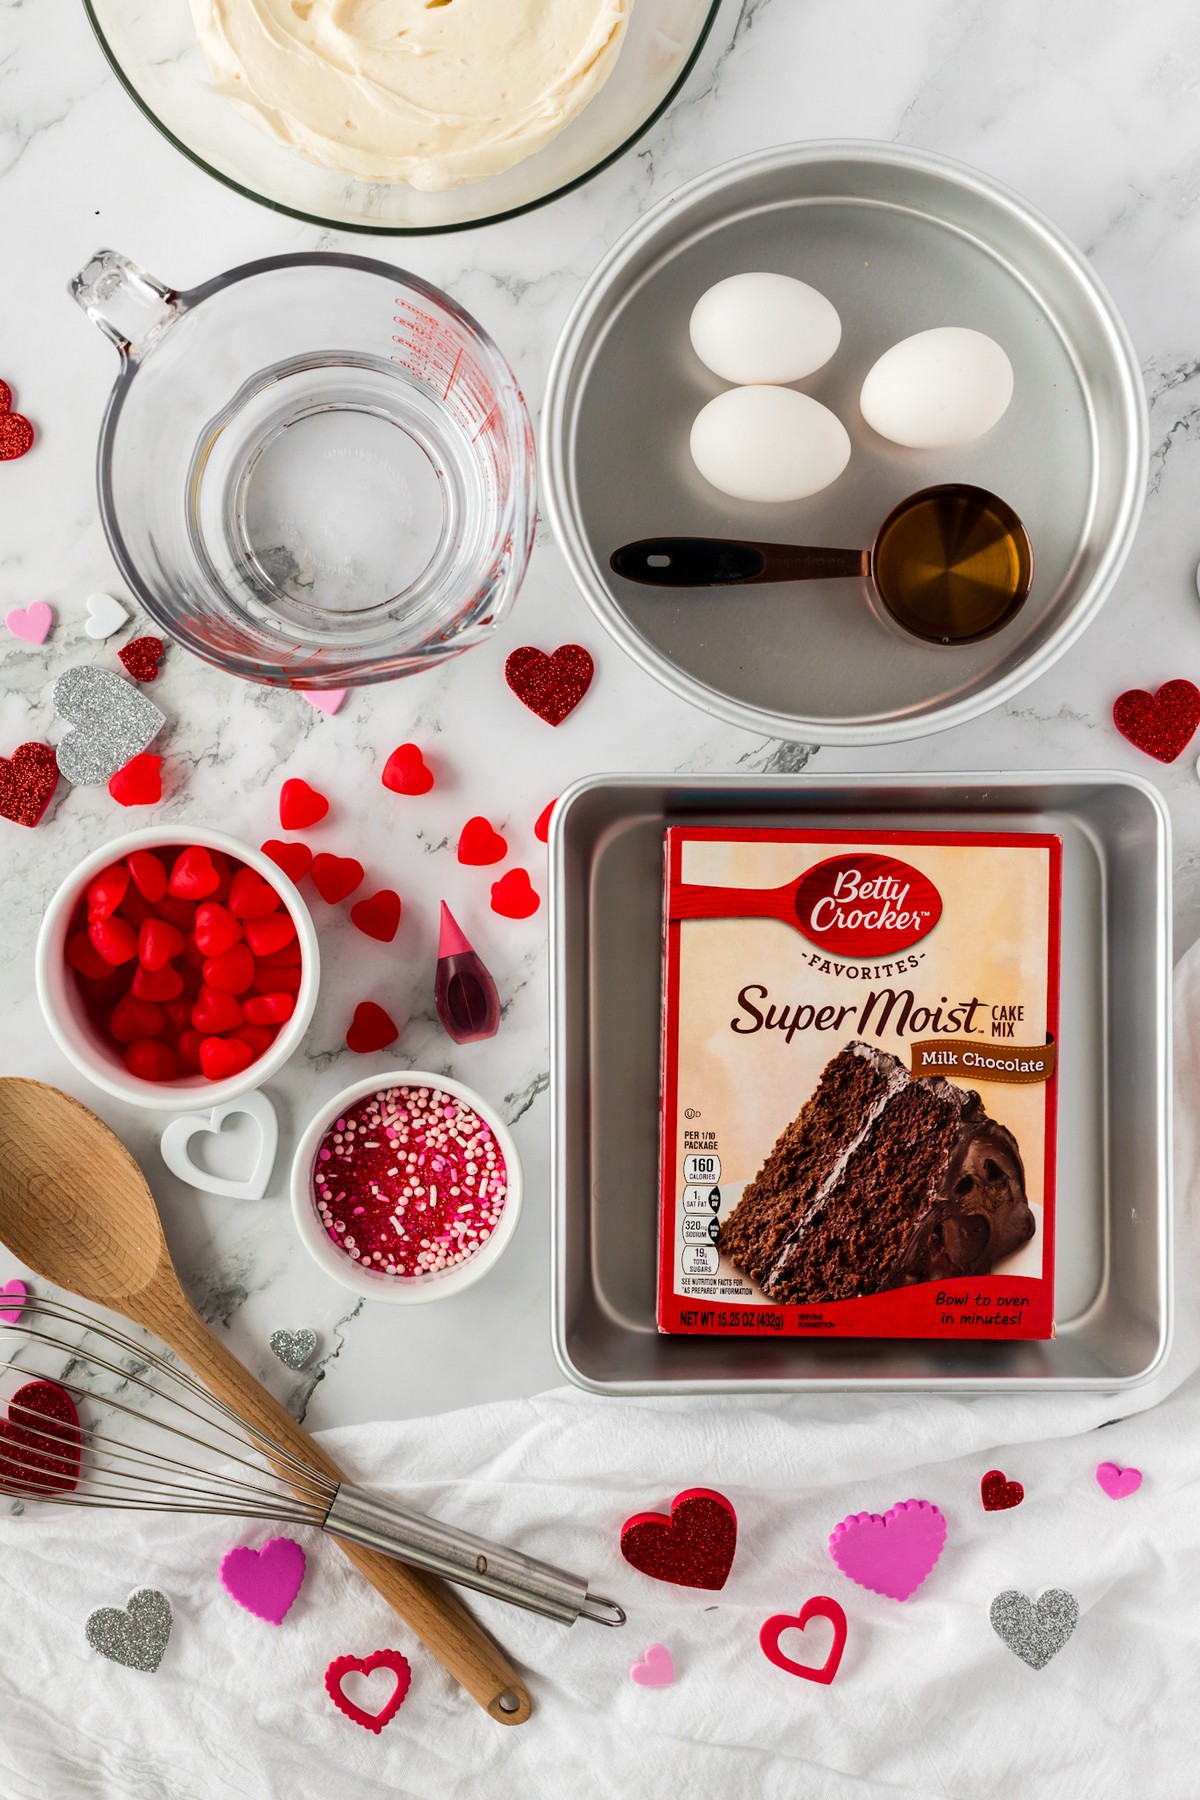
Tools/Things you need to make this recipe
- Metal cake pans are ideal for this recipe. You will need one round cake pan and one square cake pan.
- Use an icing spatula for a smoother frosting on the cake.
- A cake plate for a beautiful presentation. This isn’t required, but make sure the plate is large enough to hold the entire cake. Otherwise, a large baking sheet or piece of cardboard wrapped in aluminum foil will work, too.
- Make sure to use a cooling rack to allow the cakes to cool.
Ingredient Notes and Substitutions
- Cake Mix. This recipe calls for one box of store-bought cake mix. You can use any flavor box mix you like, except for Angel Food Cake.
- Other ingredients. Don’t forget you will need to purchase the ingredients that are listed on the box!
- Icing. You can make your own homemade cream cheese icing or use store-bought.
- Optional ingredients: food coloring and sprinkles to make the cake extra festive.
How to Make a Heart-Shaped Cake
Step 1: Bake the cake.
Start with a box mix for a 2-layer cake. Typically, this is your regular boxed cake mix from the grocery.
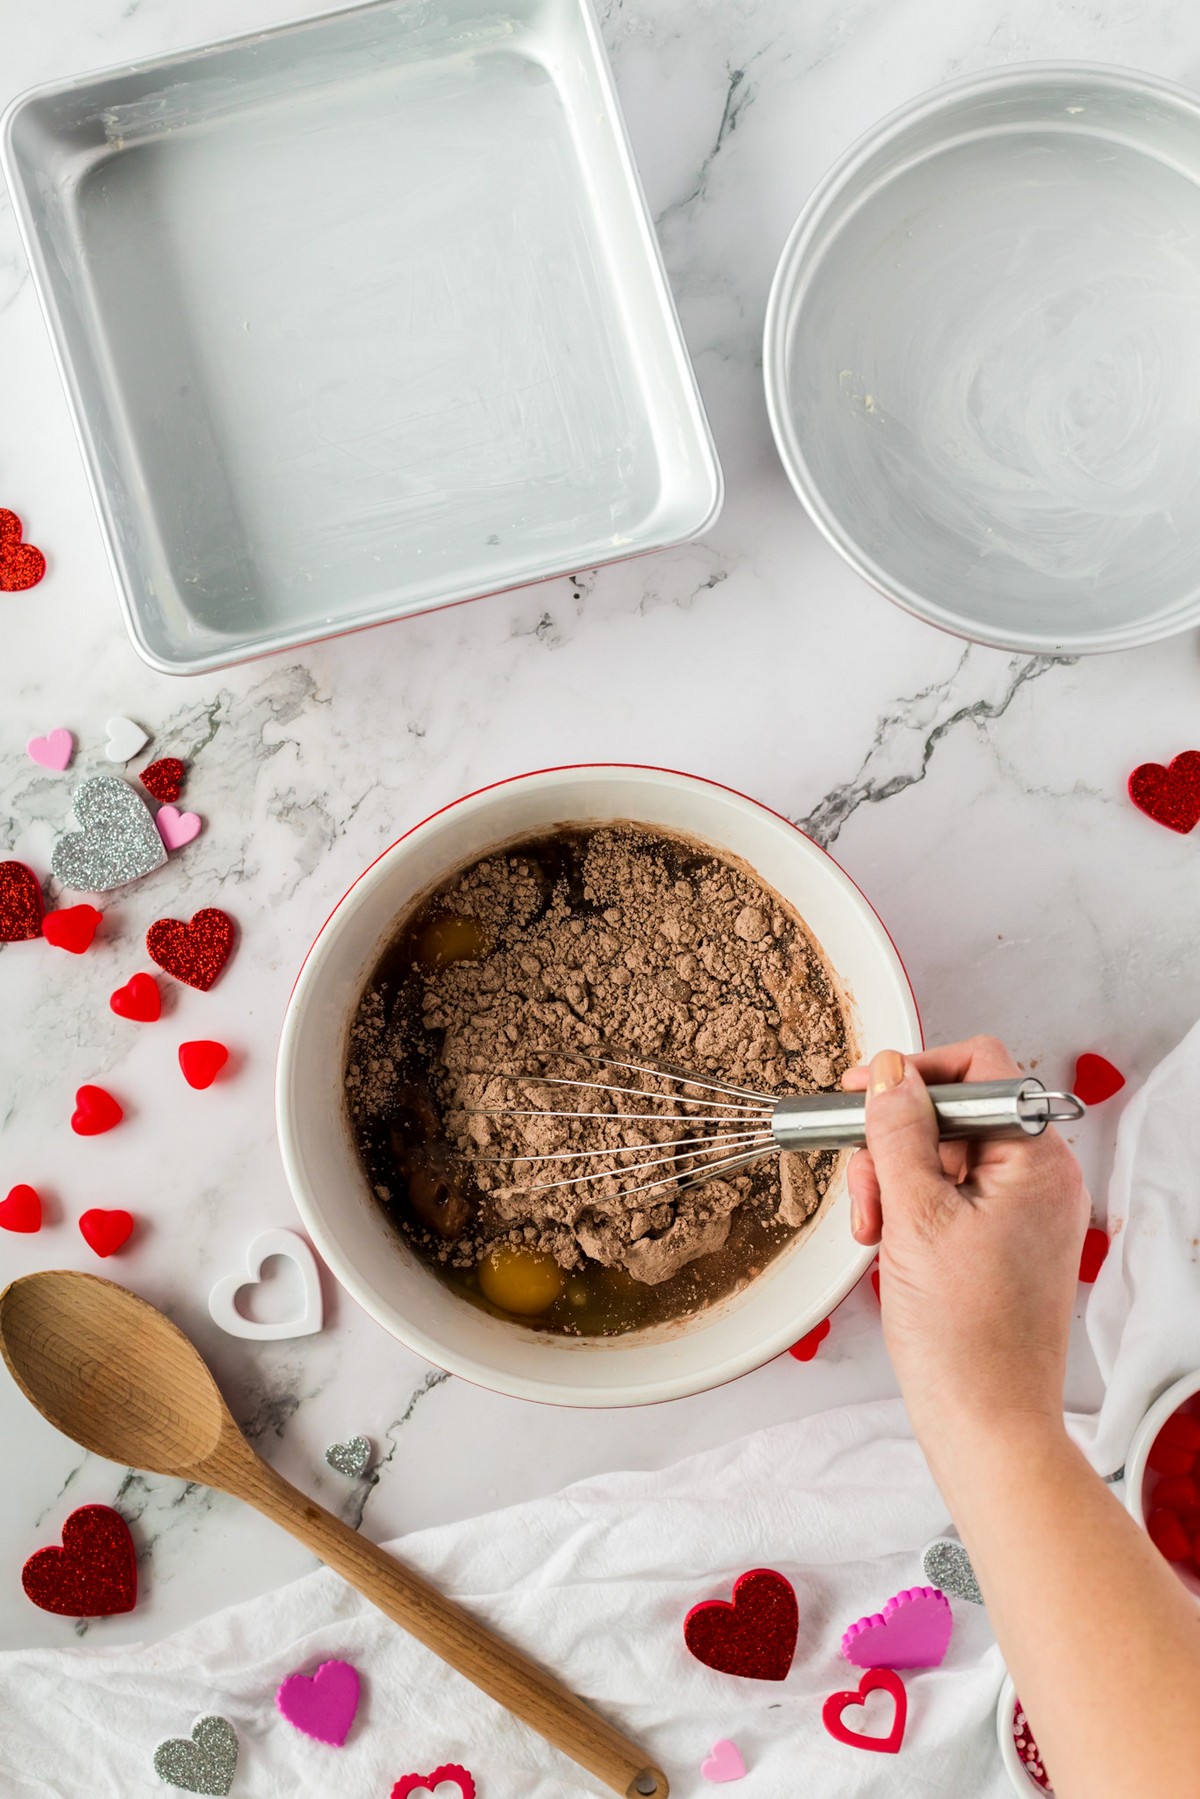
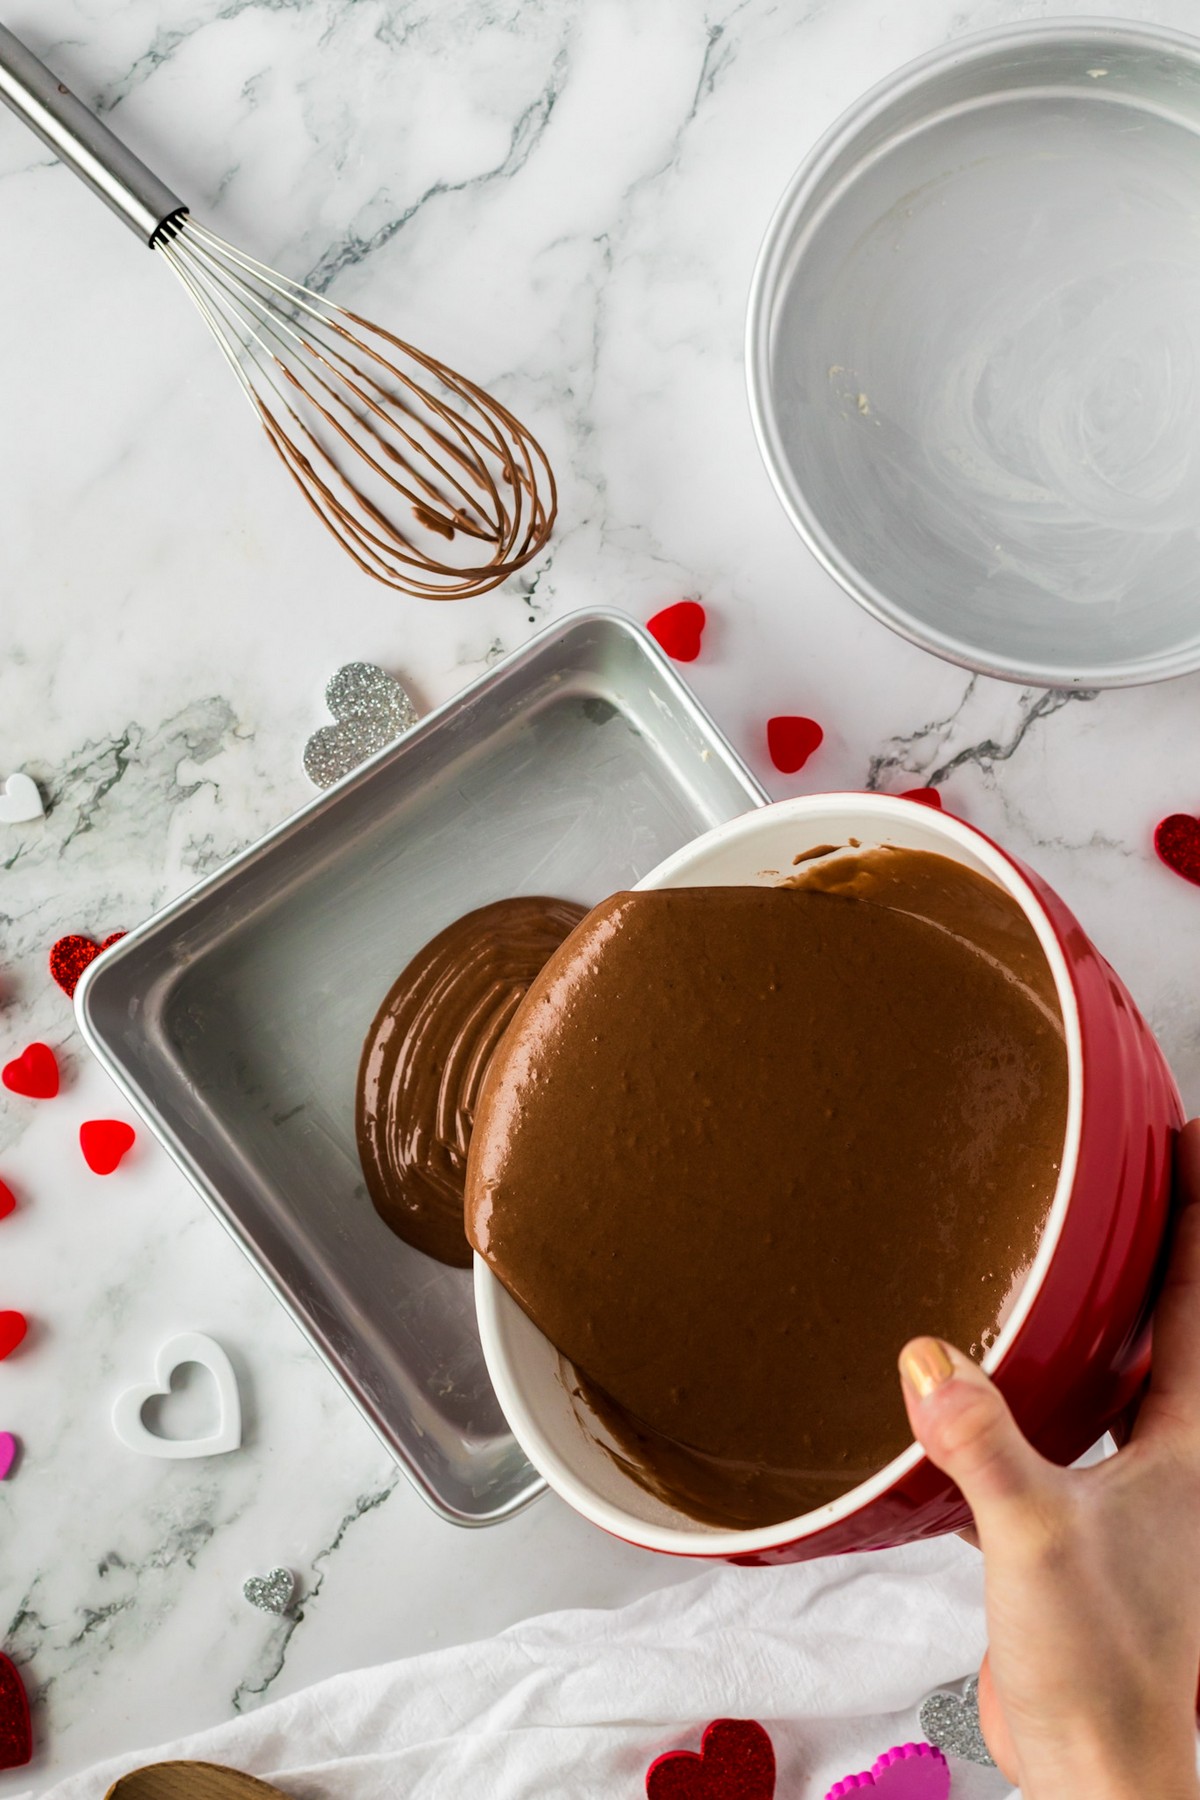
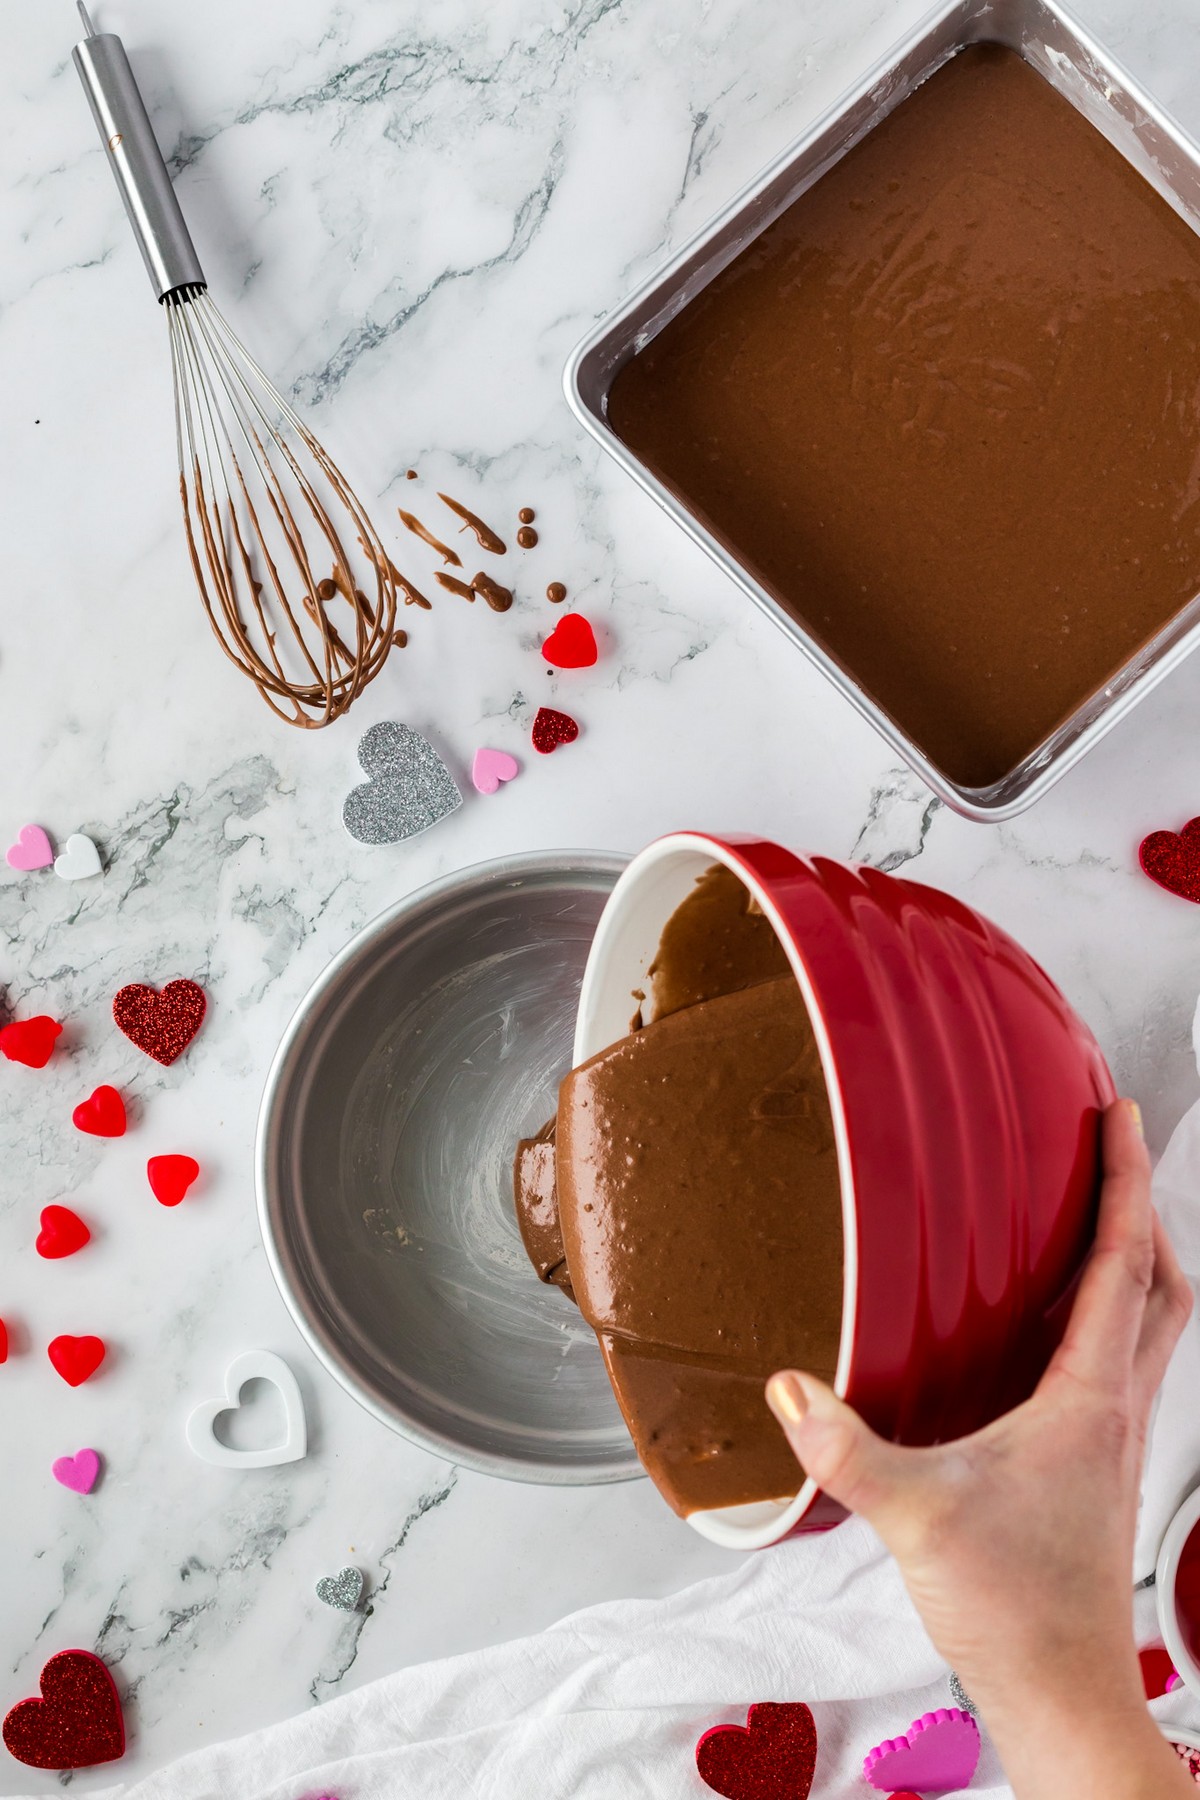
Prepare the cake as directed on the package of cake mix. You can also make a homemade cake if you choose – just be sure to adjust the baking times for the amount of batter your recipe makes.
Divide the batter evenly among the two pans, and bake according to the directions in the recipe card below.
After the cake is baked, allow it to cool completely before shaping and icing the cake. Otherwise, your cake will fall apart and become misshapen if it is sliced while hot. Plus, the icing will melt if added to a hot or warm cake.
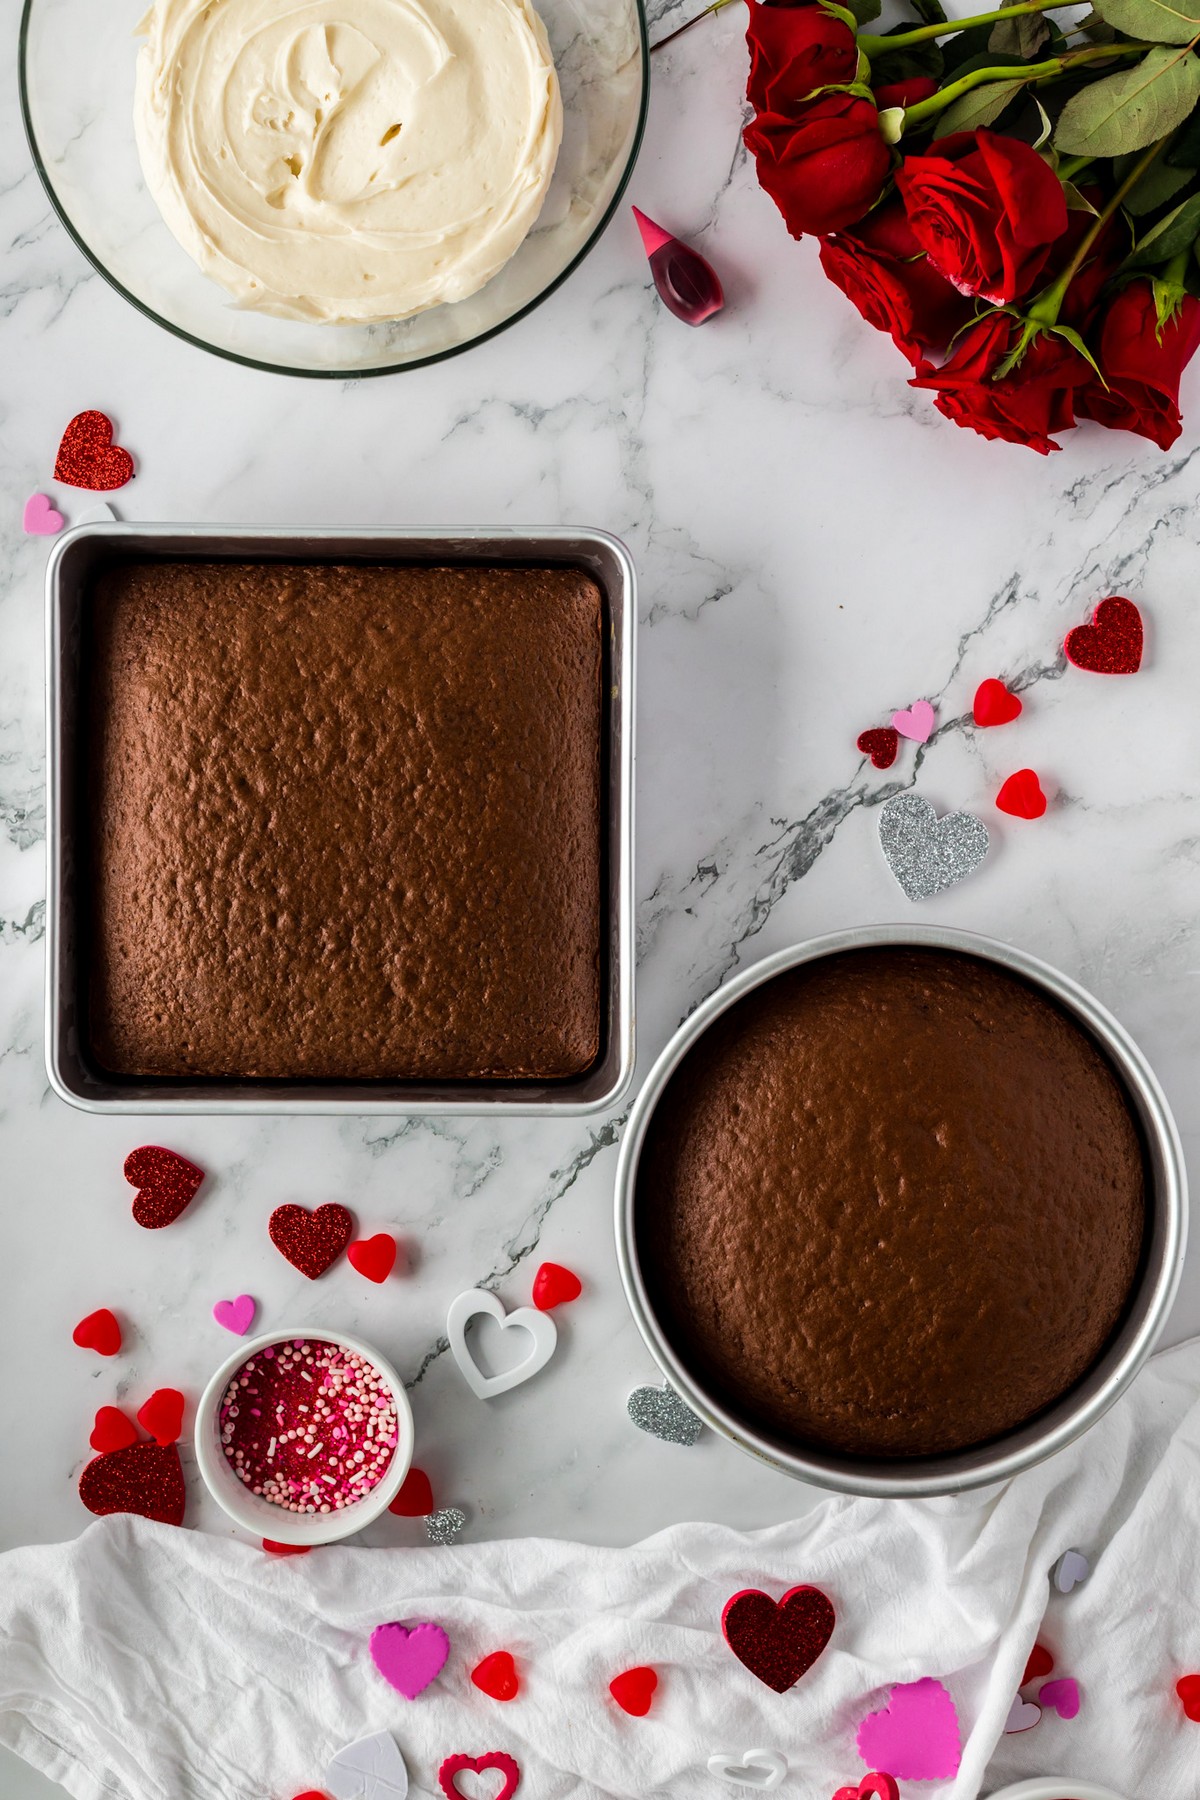
Step 2: Create the heart shape.
- To make the heart shape, cut the round cake in half and set it aside. (I recommend using a serrated knife for the cleanest cut.)
- Place the square cake on a tray or cake plate with one point toward you, like a diamond.
- Then, place the cut side of the round cake halves against the top sides of the square cake to make the arches of the heart.
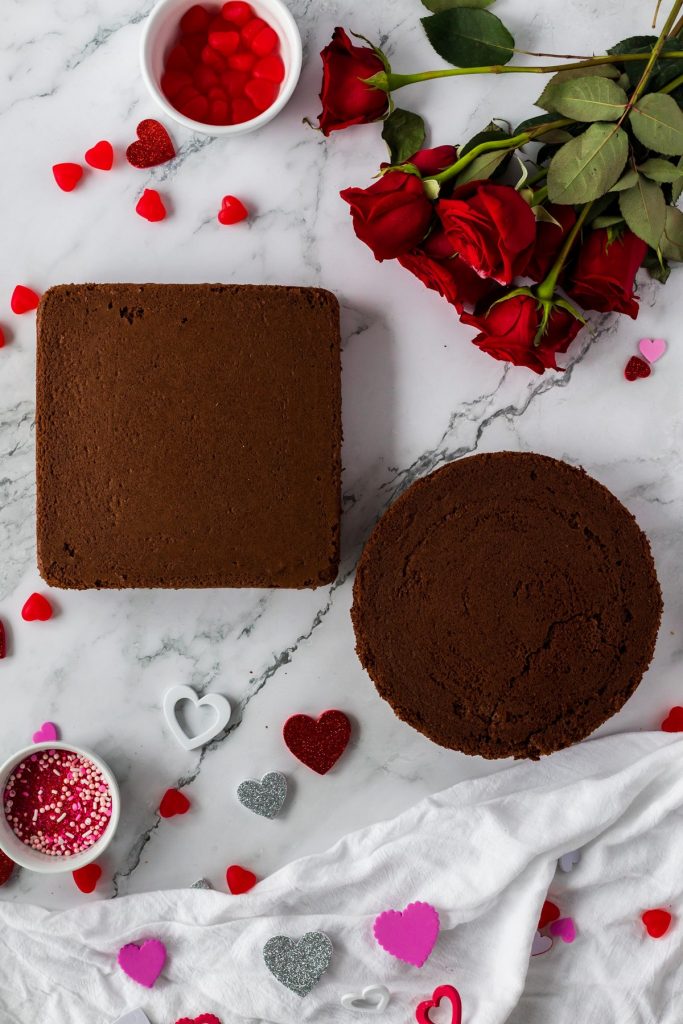
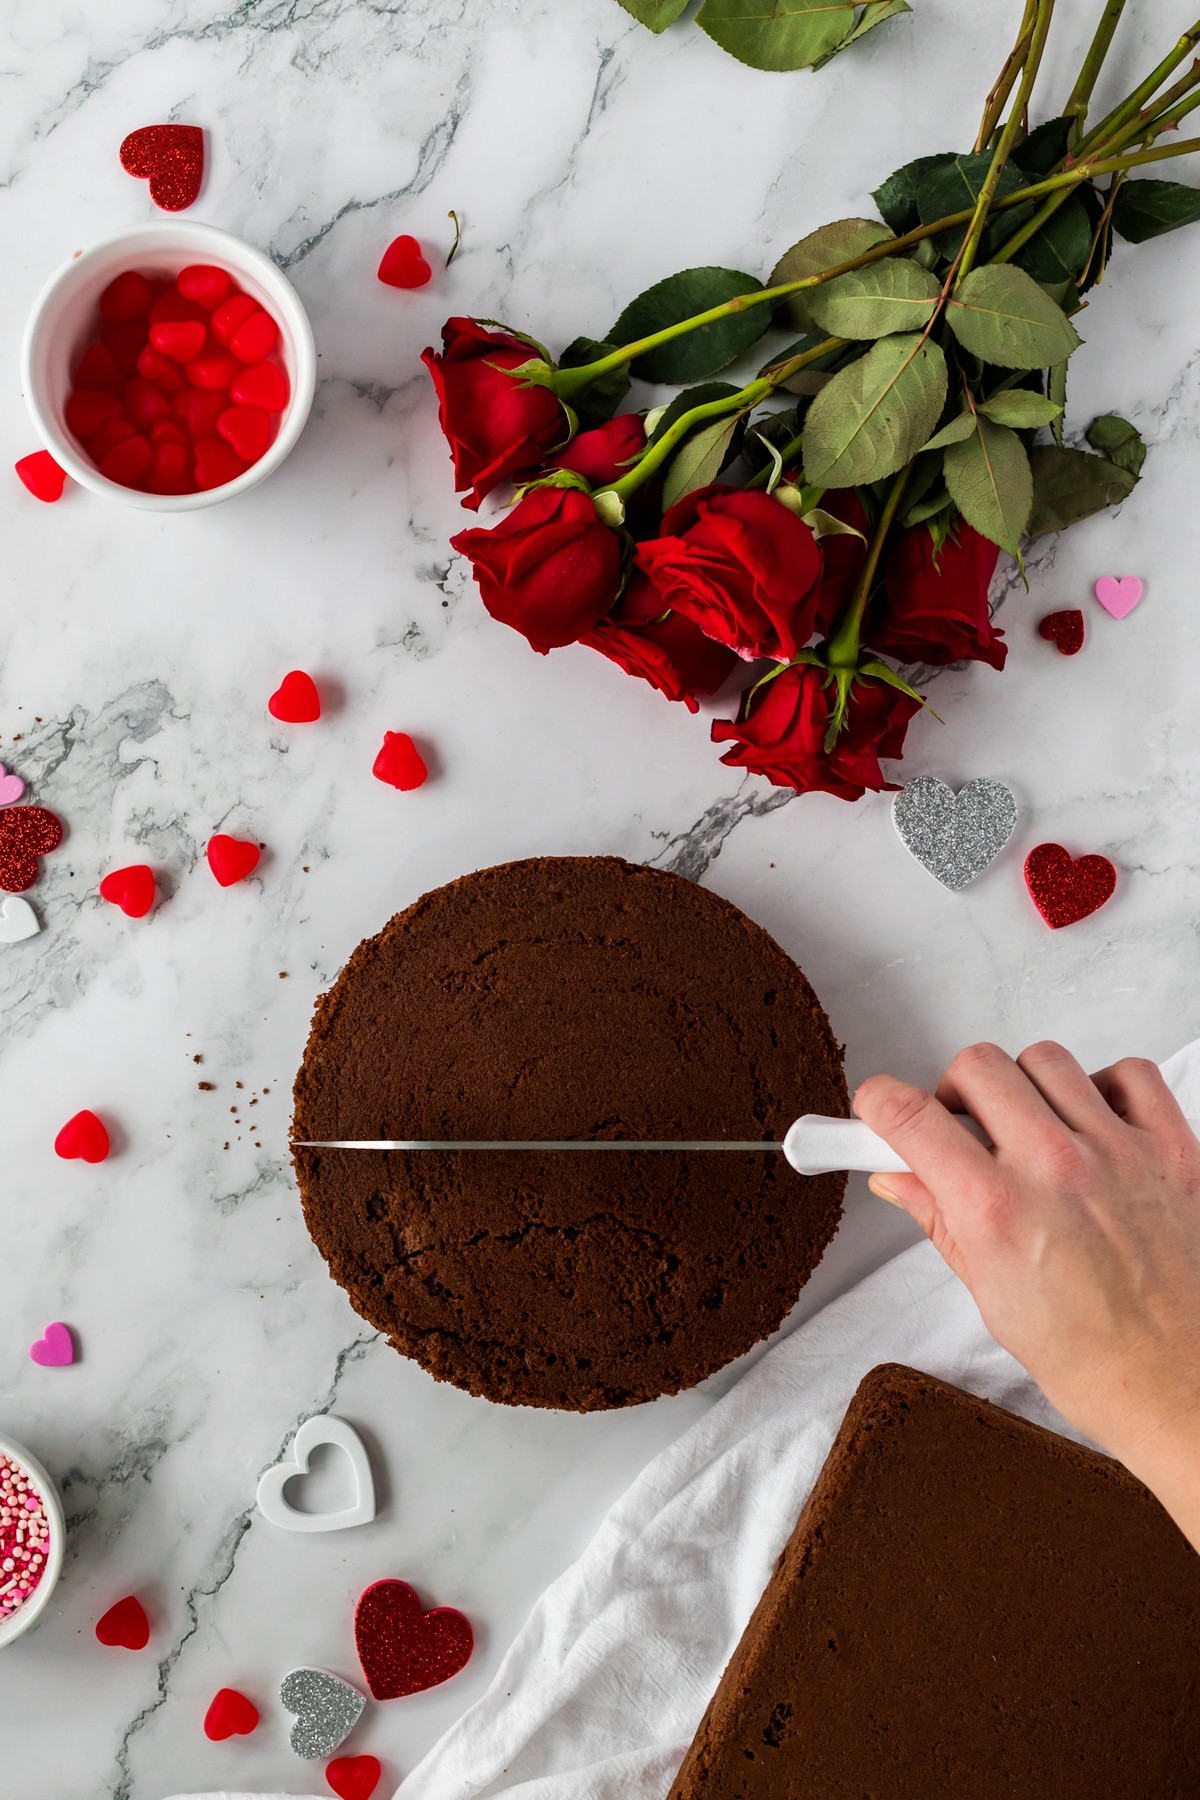
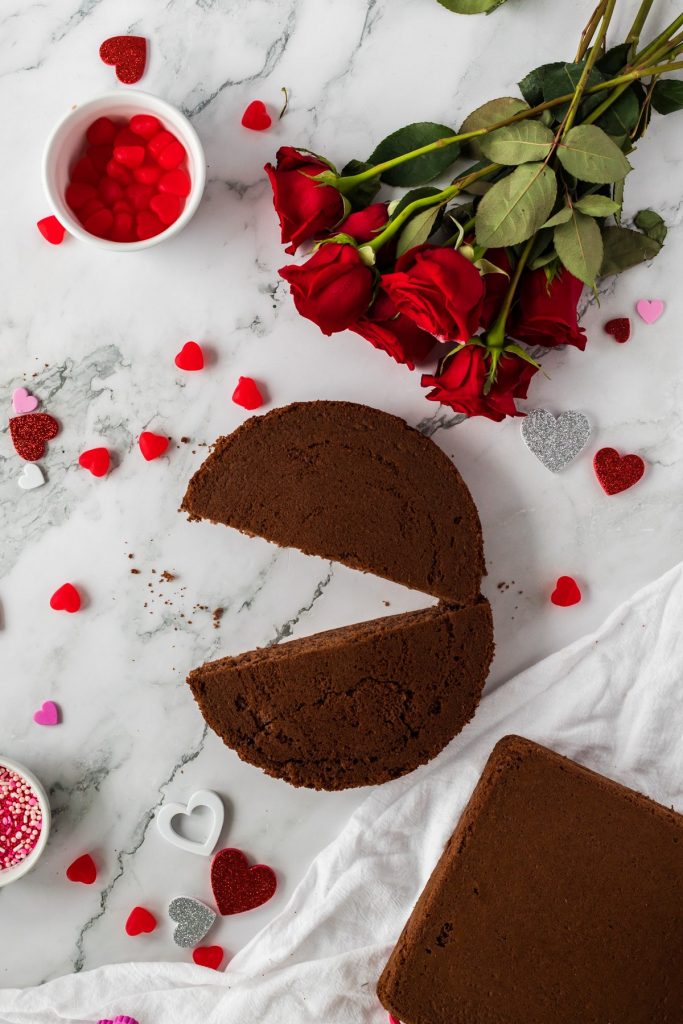
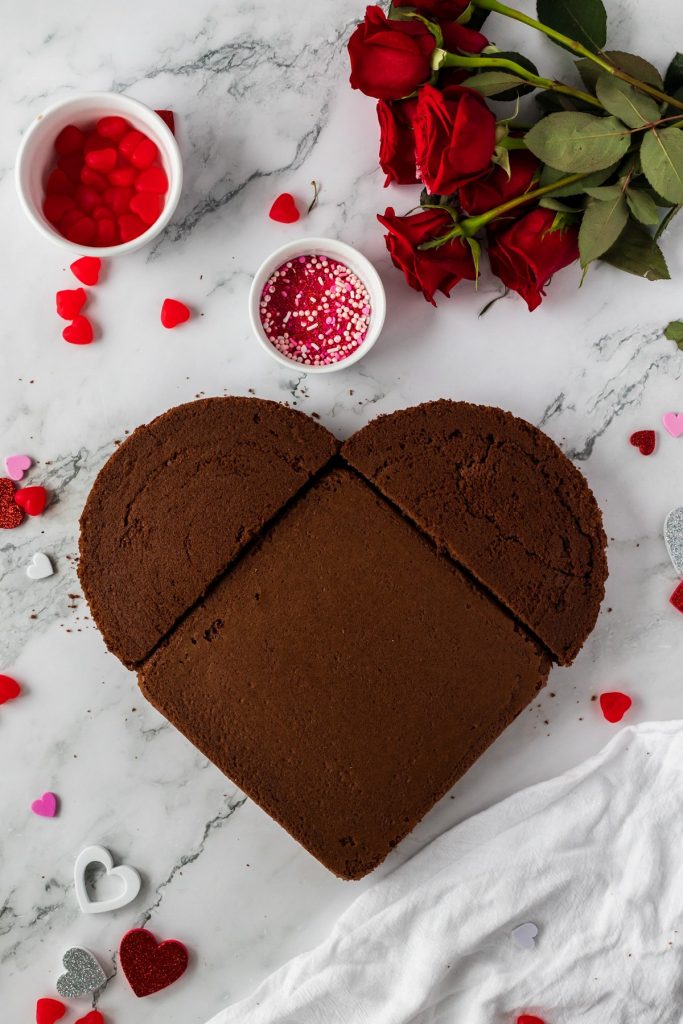
It’s ok if the edges of the two shapes don’t match up perfectly. The gaps and imperfections will be covered with icing.
Step 3: Ice the cake.
Begin frosting the cake with a “crumb coat” first. Then, smooth on the remainder of the frosting.
What is a crumb coat of frosting?
A crumb coat is a thin layer of frosting applied to the cake to prevent any crumbs from showing through on the final product. This layer seals the crumbs into this layer of icing so the rest of the layers are clean and smooth.
Start by adding a heaping dollop of frosting to the center of the cake and gently spread using a baker’s spatula. Use this same method to coat the sides of the cake.
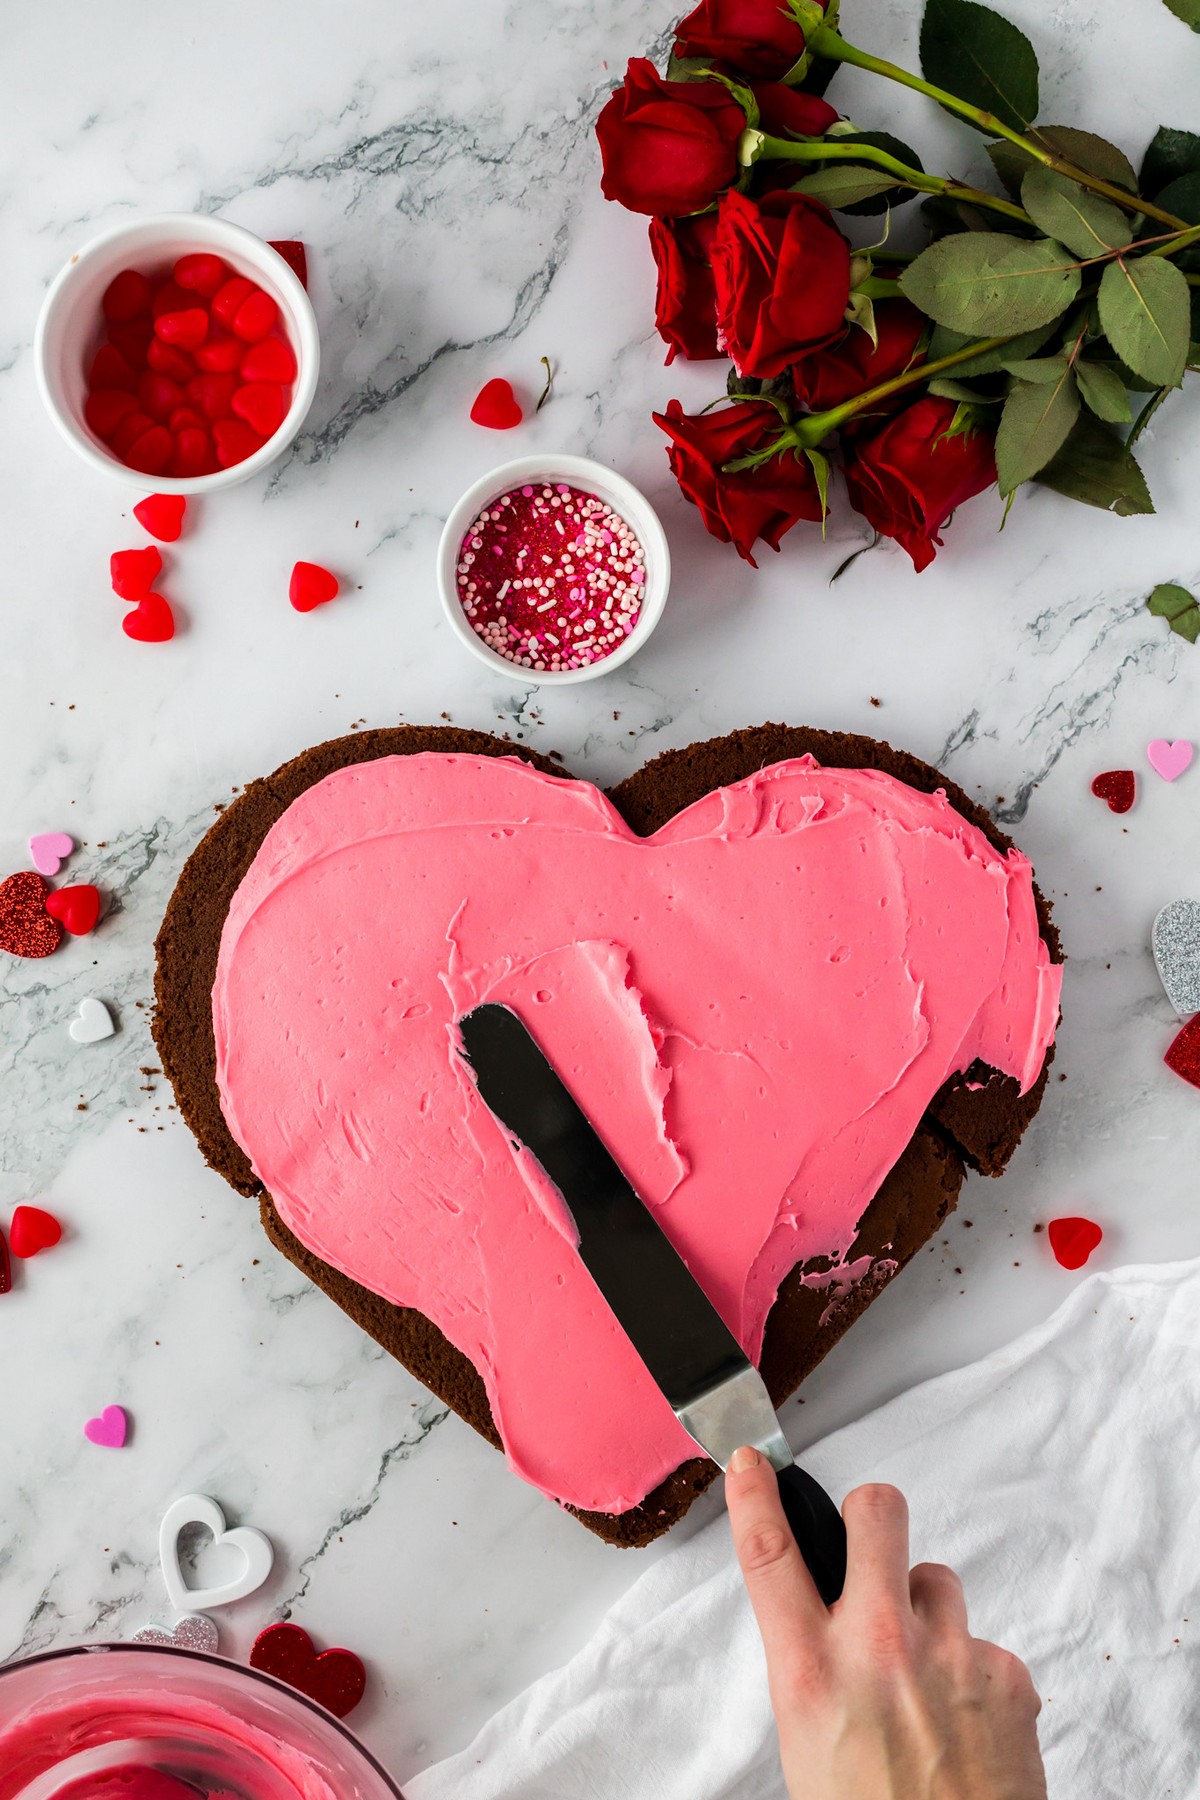
Place the cake in the fridge for about 20 minutes to “set” the crumb coat. This makes it easier to add additional layers of frosting.
Then, continue with the frosting process for the next layers.
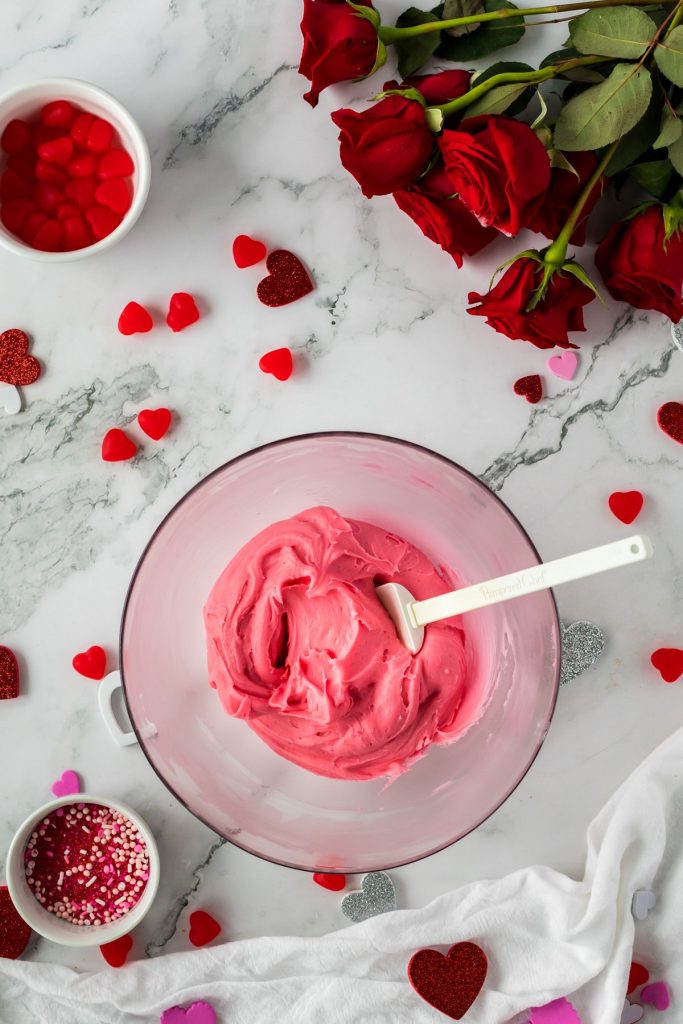
Don’t forget to mix in a few drops of red food coloring to create different shades of pink or red. Start with 2-3 drops and add more as desired. Blend the frosting and food coloring together in a stand mixer or using a spatula.
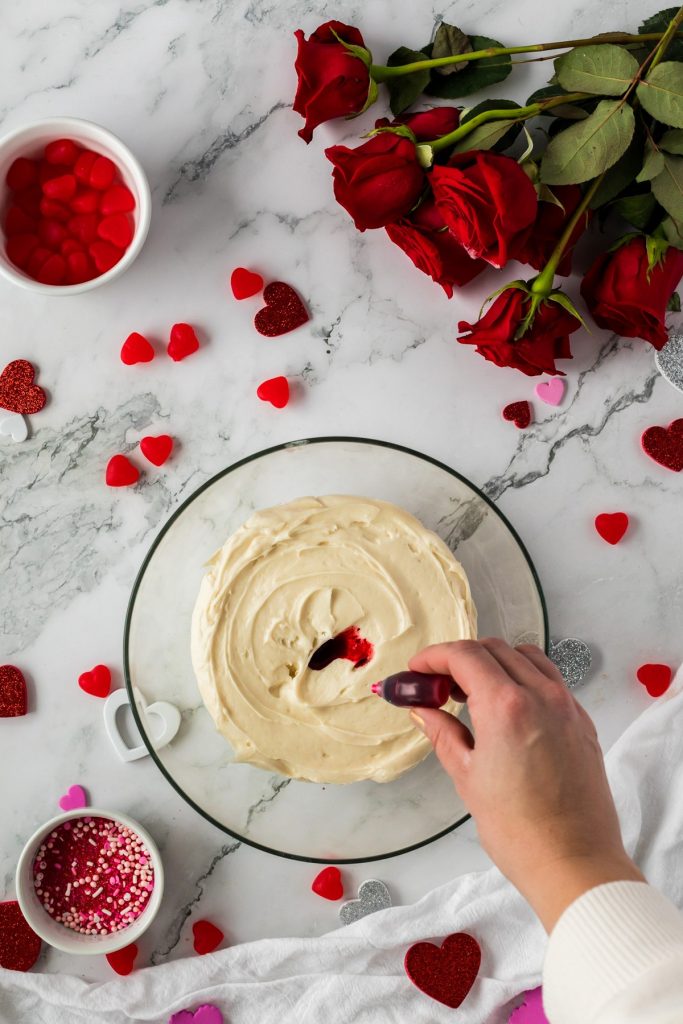
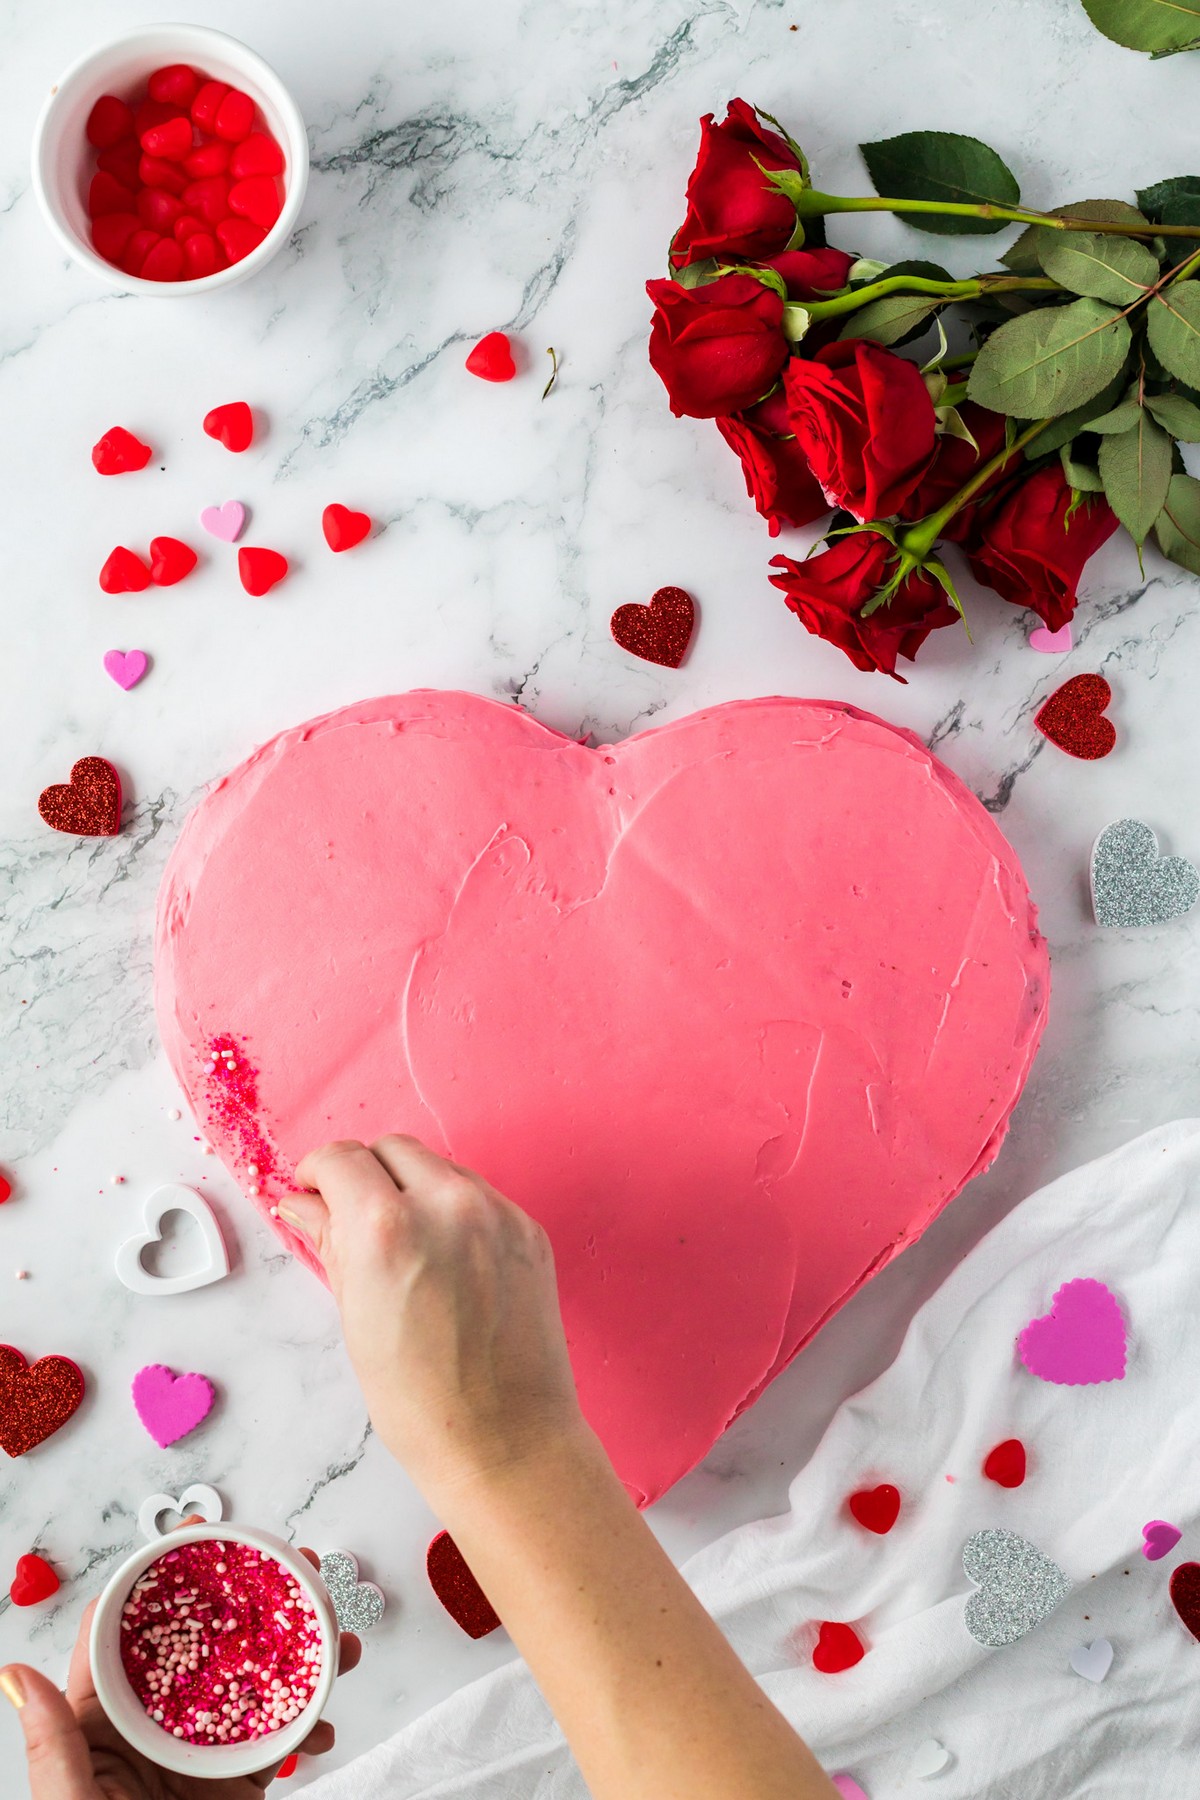
Top with sprinkles and other edible decorations if desired.
Other Valentine’s Dessert Recipes
- Peppermint Mocha
- Rice Krispy Treats
- Chocolate Chip Banana Bread Muffins
- Crockpot Candy
- Cream Cheese Frosting Recipe

How to Make a Heart-Shaped Cake
Ingredients
- 15.25 ounce box of cake mix
- Ingredients called for on cake mix box
- Homemade Cream Cheese Frosting or store-bought
- 1-3 drops Red food coloring optional
- Valentine’s Day Sprinkles optional
Instructions
Making the Cakes
- Preheat oven to 350°F. Grease or lightly spray bottoms of one 8-inch round and one 8-inch square pan.
- In a large bowl, prepare cake mix as instructed on the box. Pour batter evenly into both pans.
- Bake square pan 25-30 minutes and the round pan 30-35 minutes or until a toothpick inserted in center comes out clean.
- Cool each cake 10 minutes. Then, carefully remove each cake from the pans.
- Cool completely on a wire cooling rack, about 1 hour. (see notes)
Creating the Heart-Shape
- To make the heart-shaped cake, cut the round cake in half and set it aside. Then, place the square cake on a tray with one point toward you, like a diamond.
- Then, place the cut side of the round cake halves against the top sides of the square cake to make the arches of the heart.
How to Frost the Cake
- Prepare the frosting or make your own homemade version.
- Begin frosting the cake with a “crumb coat” first. (see notes)
- Optional: Add 1-3 drops of red food coloring to the bowl of frosting. Combine using a hand mixer or spoon. Continue adding additional food coloring until you reach the desired shade of pink or red. (see notes)
- Add a heaping dollop of frosting to the center of the cake and gently spread using a baker’s spatula. Use this same method to coat the sides of the cake.
- Place the cake in the fridge for about 20 minutes to “set” the crumb coat. This makes it easier to add additional layers of frosting. (see notes)
- Continue with the frosting process for the next layers without refrigeration.
Decorate the cake (optional)
- Top with sprinkles and other edible decorations if desired.
- Store the cake covered at room temperature for 1-3 days.
Notes
- For a lighter shade of pink, use fewer drops.
- For deeper red shades, add additional drops.


One Comment