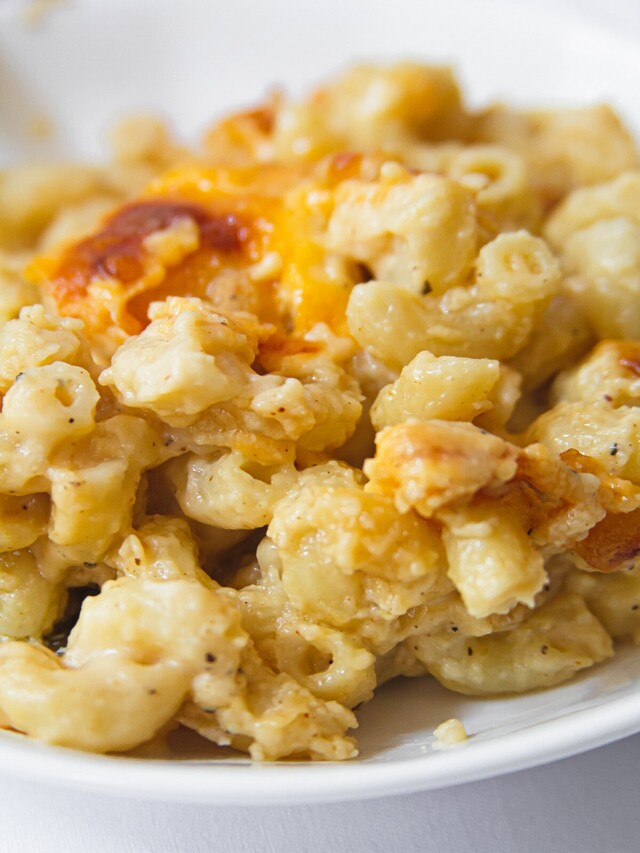
The best baked mac and cheese recipe I’ve ever made is right here! Made with three different kinds of cheese, this recipe is made completely from scratch and baked in the oven for the ultimate, homemade comfort food. This recipe is so easy to make and without Velveeta! You will never reach for the boxed stuff again!
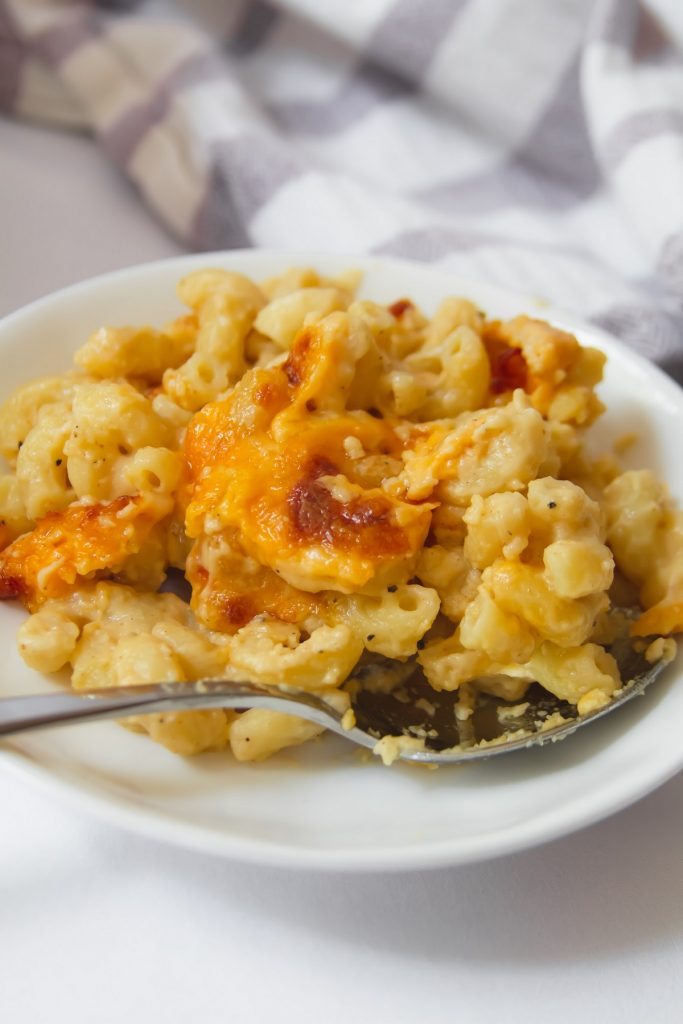
Mac and cheese is one of those recipes that comes in many different forms. Some prefer drier versions, some like the extra sauce… I’ve been toying with this recipe for years to figure out the perfect combo of cheese and noodles that was creamy but not overly saturated with cheese sauce.
Y’all, I have finally cracked the code for the ideal ratio of creamy cheesiness to perfectly cooked pasta with this recipe!
Even better than homemade, this recipe only takes about 30 minutes to put together, so it’s totally doable for a weeknight meal. In fact, you can make this recipe ahead of time and then toss in the oven when you get home from work!
Also, this would be a great side dish to put together for Friendsgiving or the holiday season. Easy peasy!
How to Make Oven-Baked Mac and Cheese
Here are a few kitchen tools I recommend to make this recipe easier:
- KitchenAid Mixer with shredder attachment – this will shred the blocks of cheese in a fraction of the time.
- If the KitchenAid and attachments are outside of your budget, this Hamilton Beach food processor is a great option!
- Enameled Cast Iron Dutch Oven – Any heavy-bottomed pot will do, but I love my Tramontina dutch oven set. It’s a budget-friendly option that really stands up against the test of time. We’ve used ours for years!
- 3 Quart Casserole Dish – must be oven safe!
Much like my Chicken Divan Casserole, this recipe has a creamy cheese sauce as the base, which means you need to make a roux!
Step 1: Make a roux for mac and cheese
Making a roux is as easy as combining flour, butter, and then adding cream or milk to make the sauce.
Check out this article on how to get started making a roux. Then, follow the instructions below and in the recipe card and you’ll be all set!
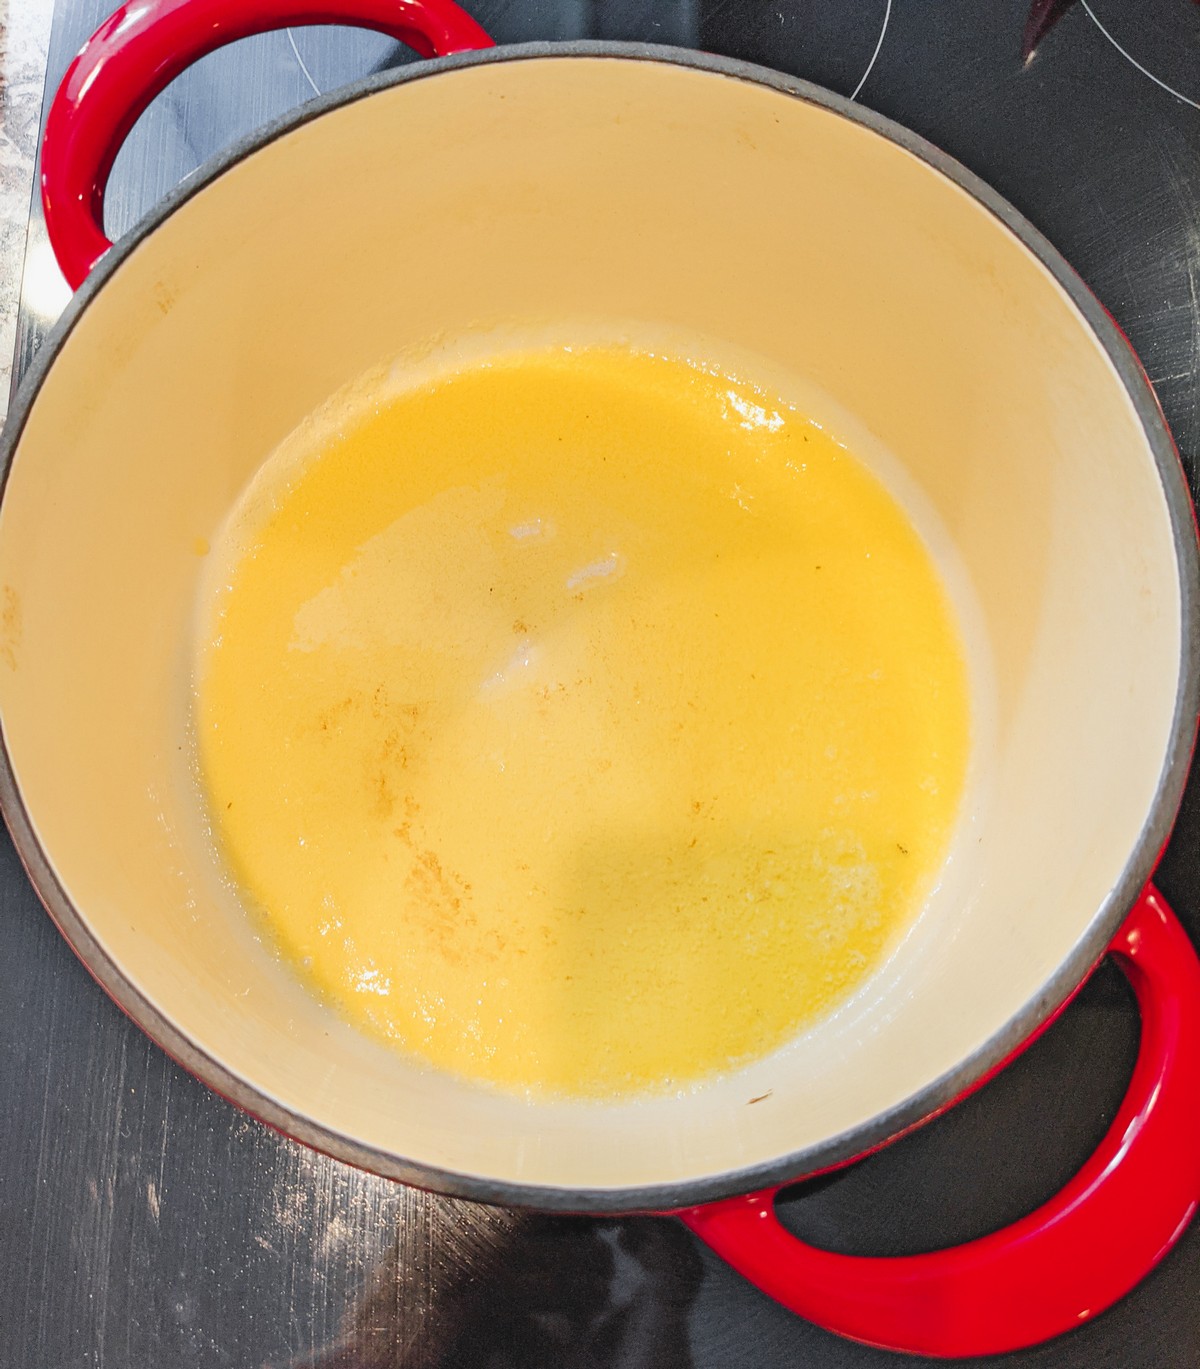
Melt the butter. 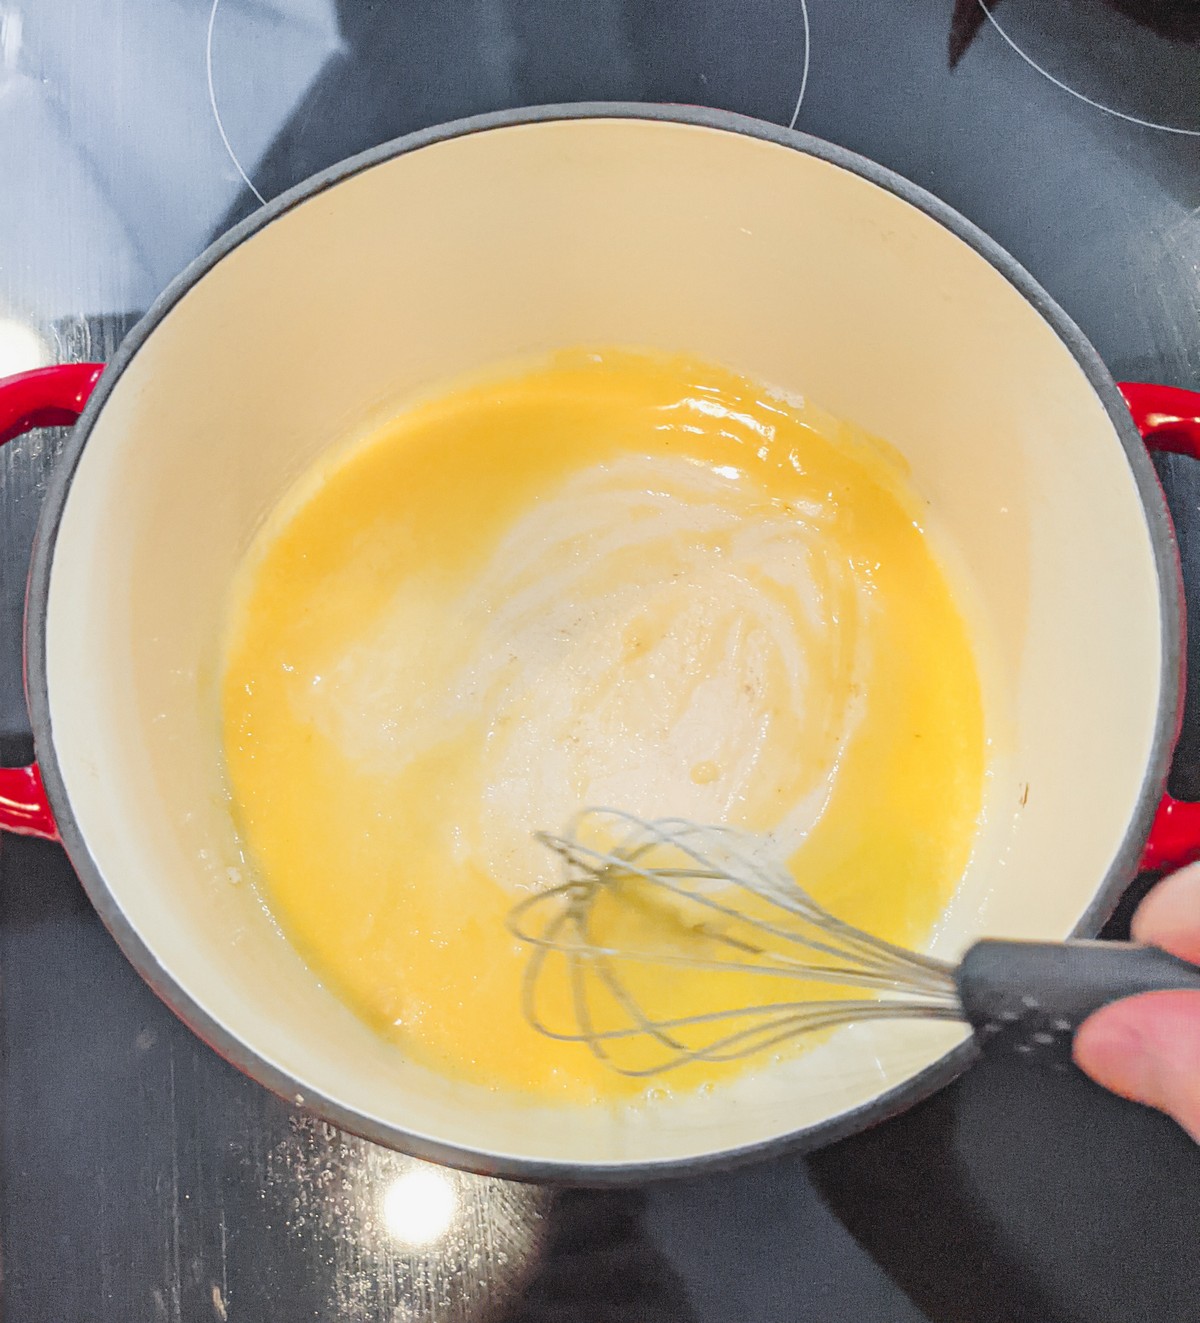
Slowly stir in the flour. 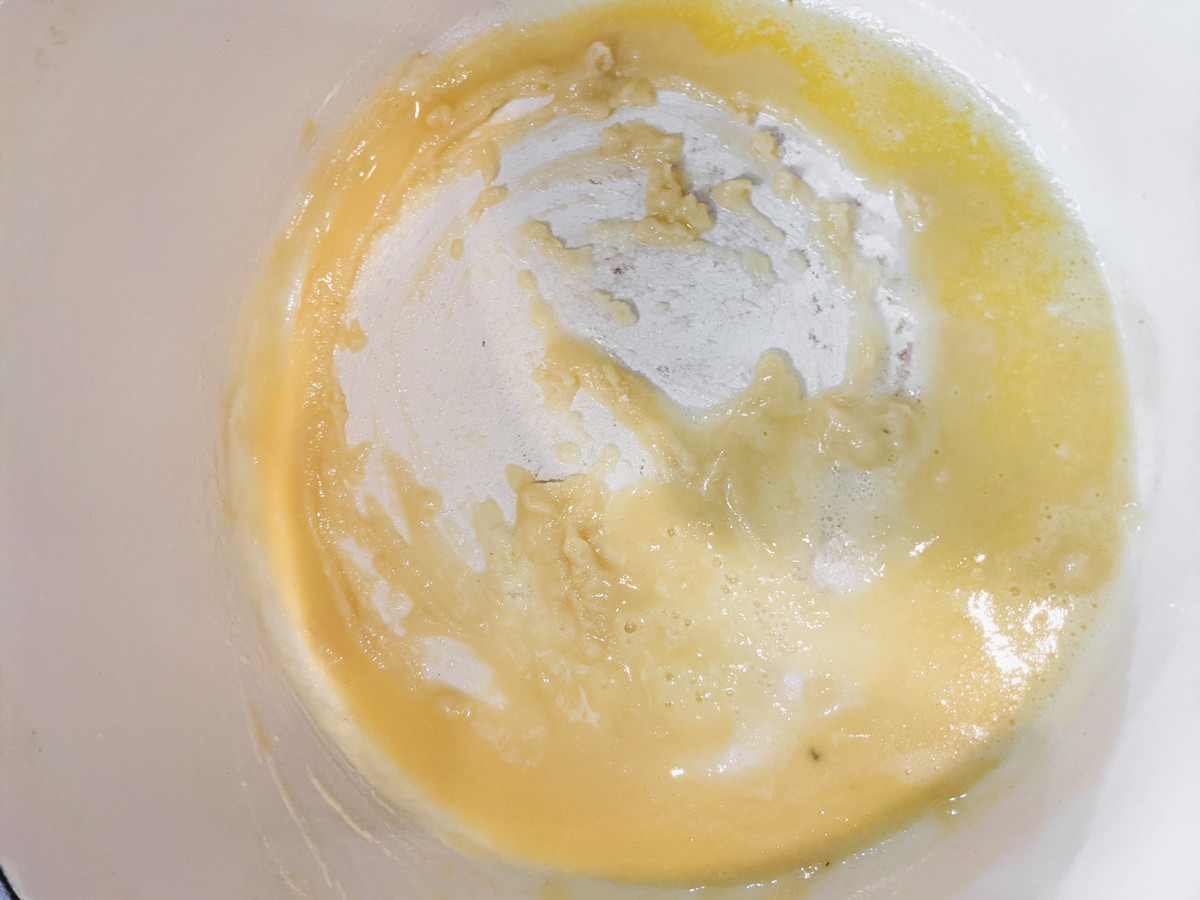
The flour and butter will make a thick paste. Continue whisking. 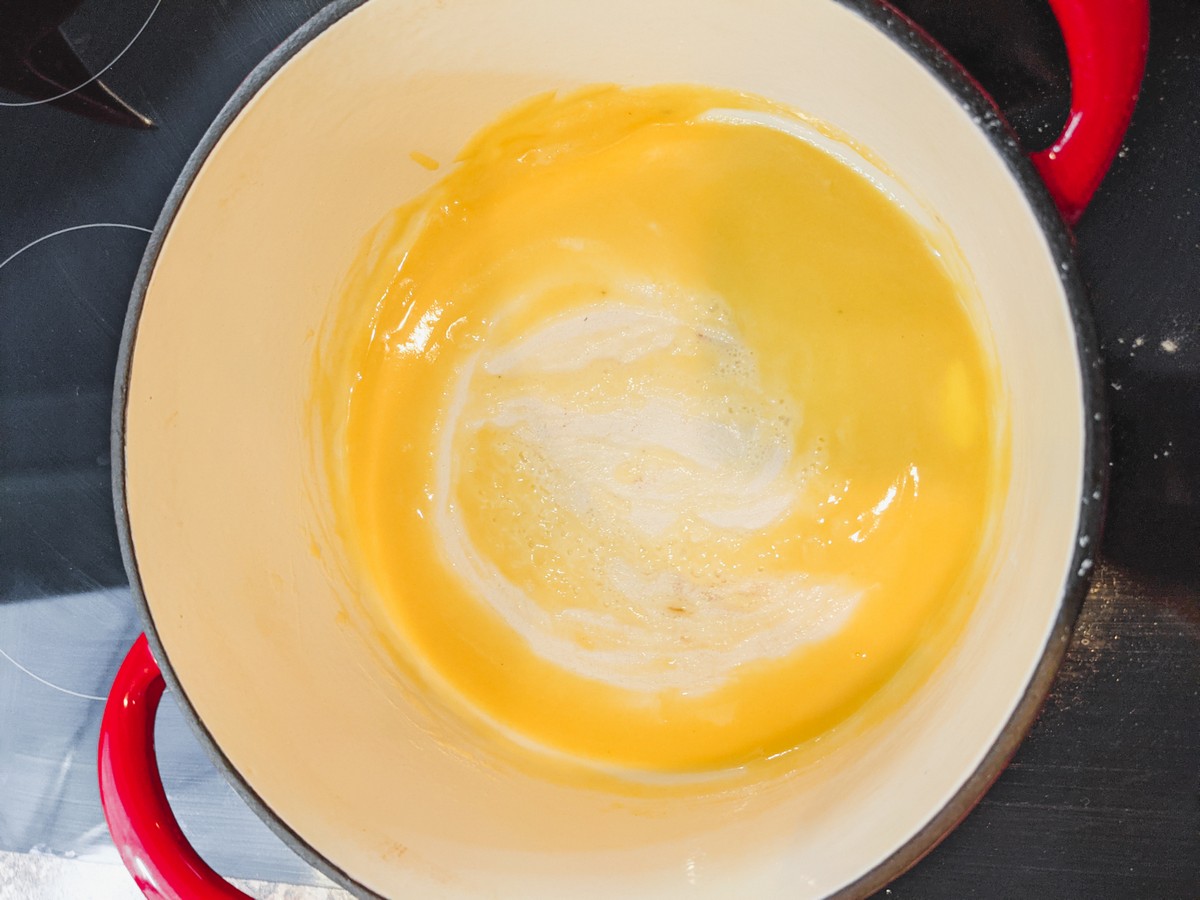
The roux will begin to turn “blonde”. 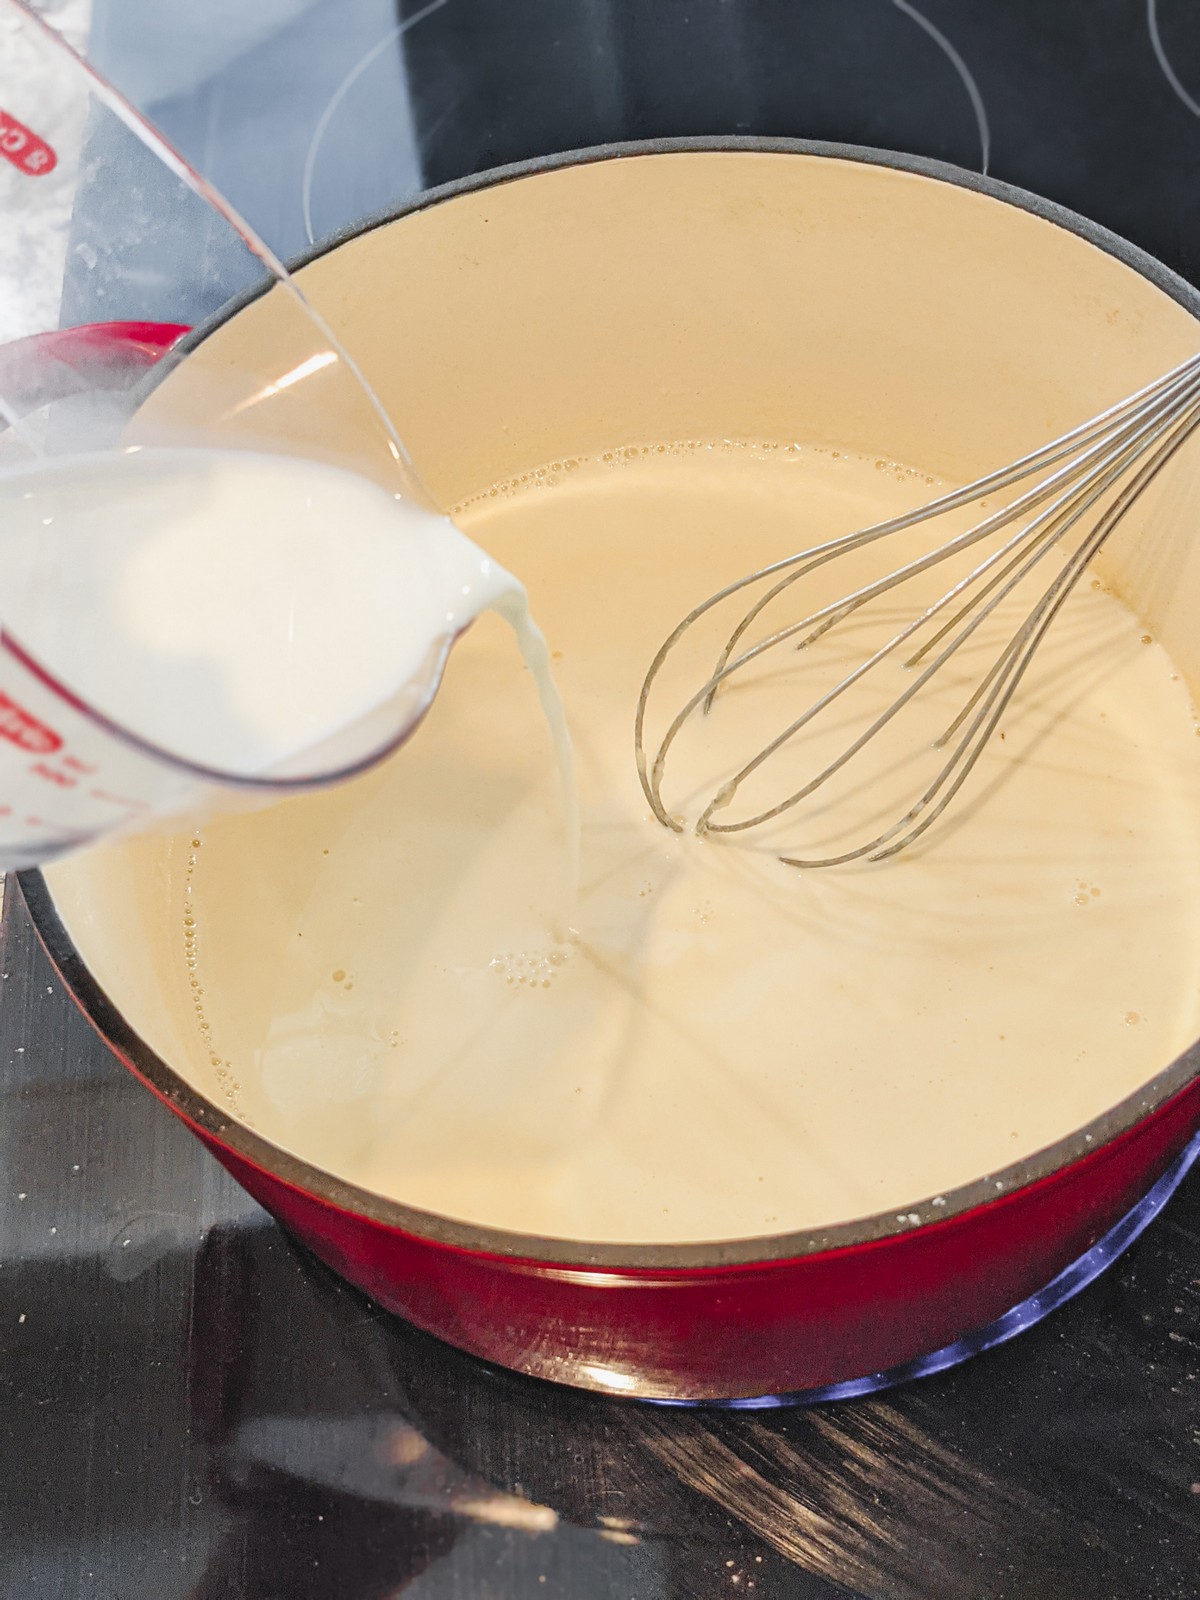
Whisk in the evaporated milk and cream slowly. 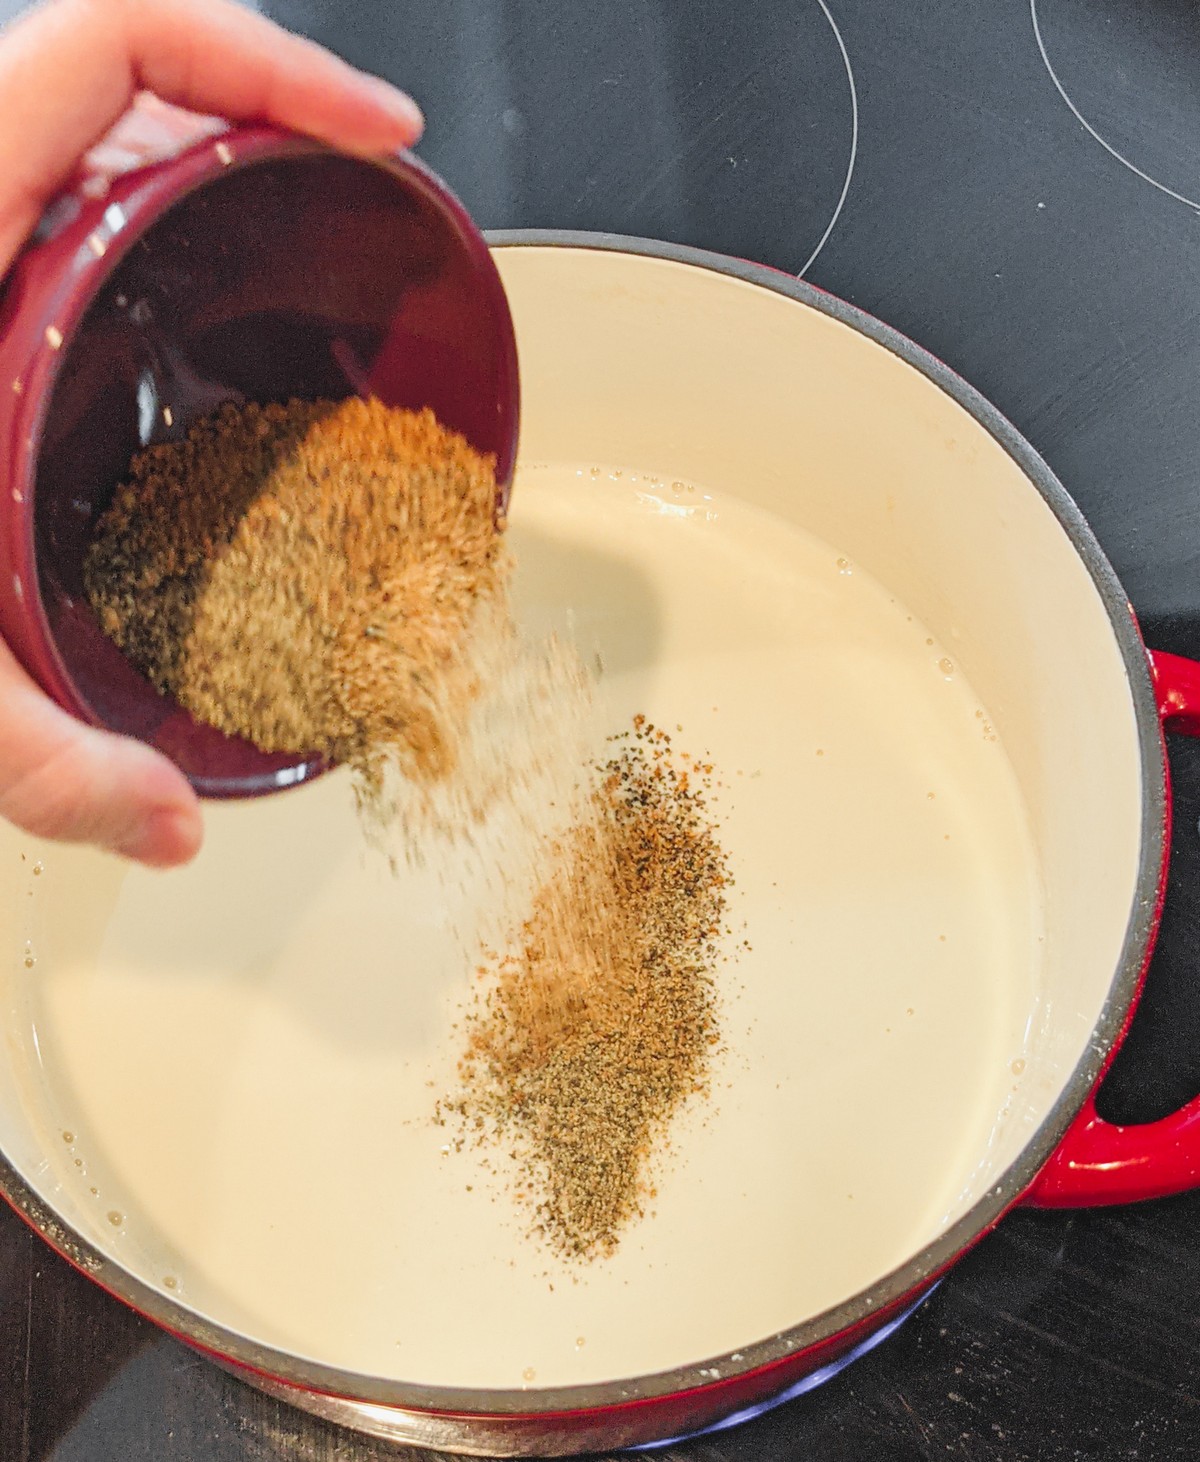
Whisk in seasonings. 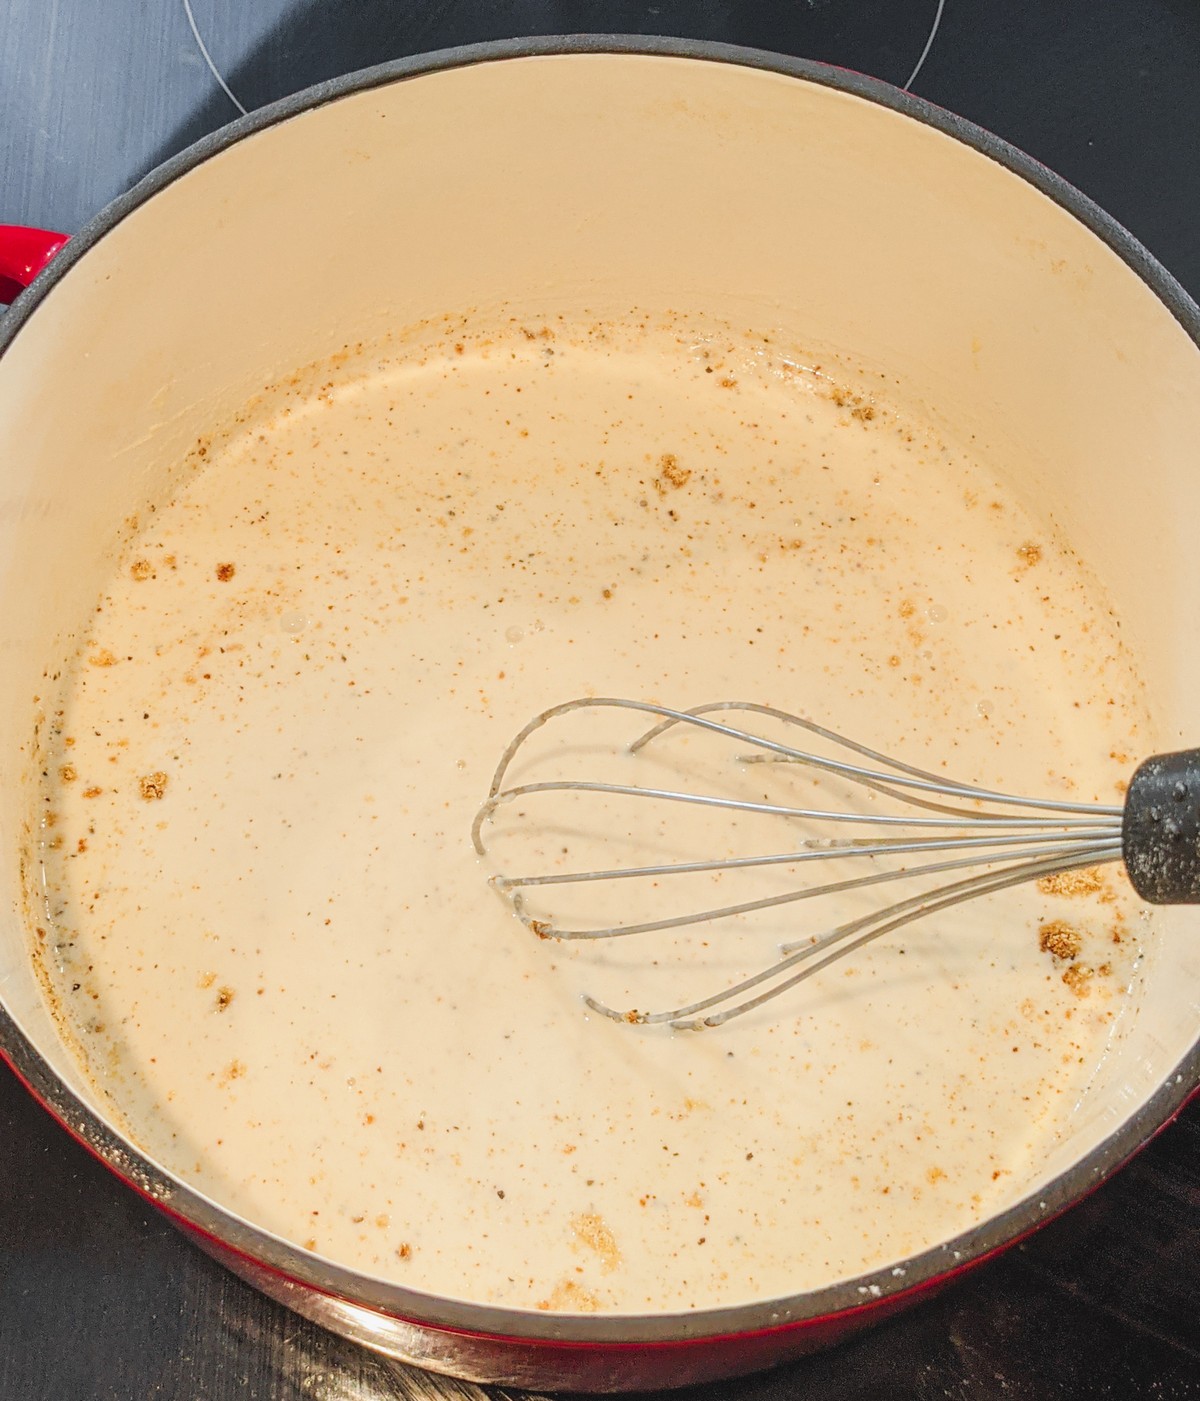
Stir to combine. Simmer. 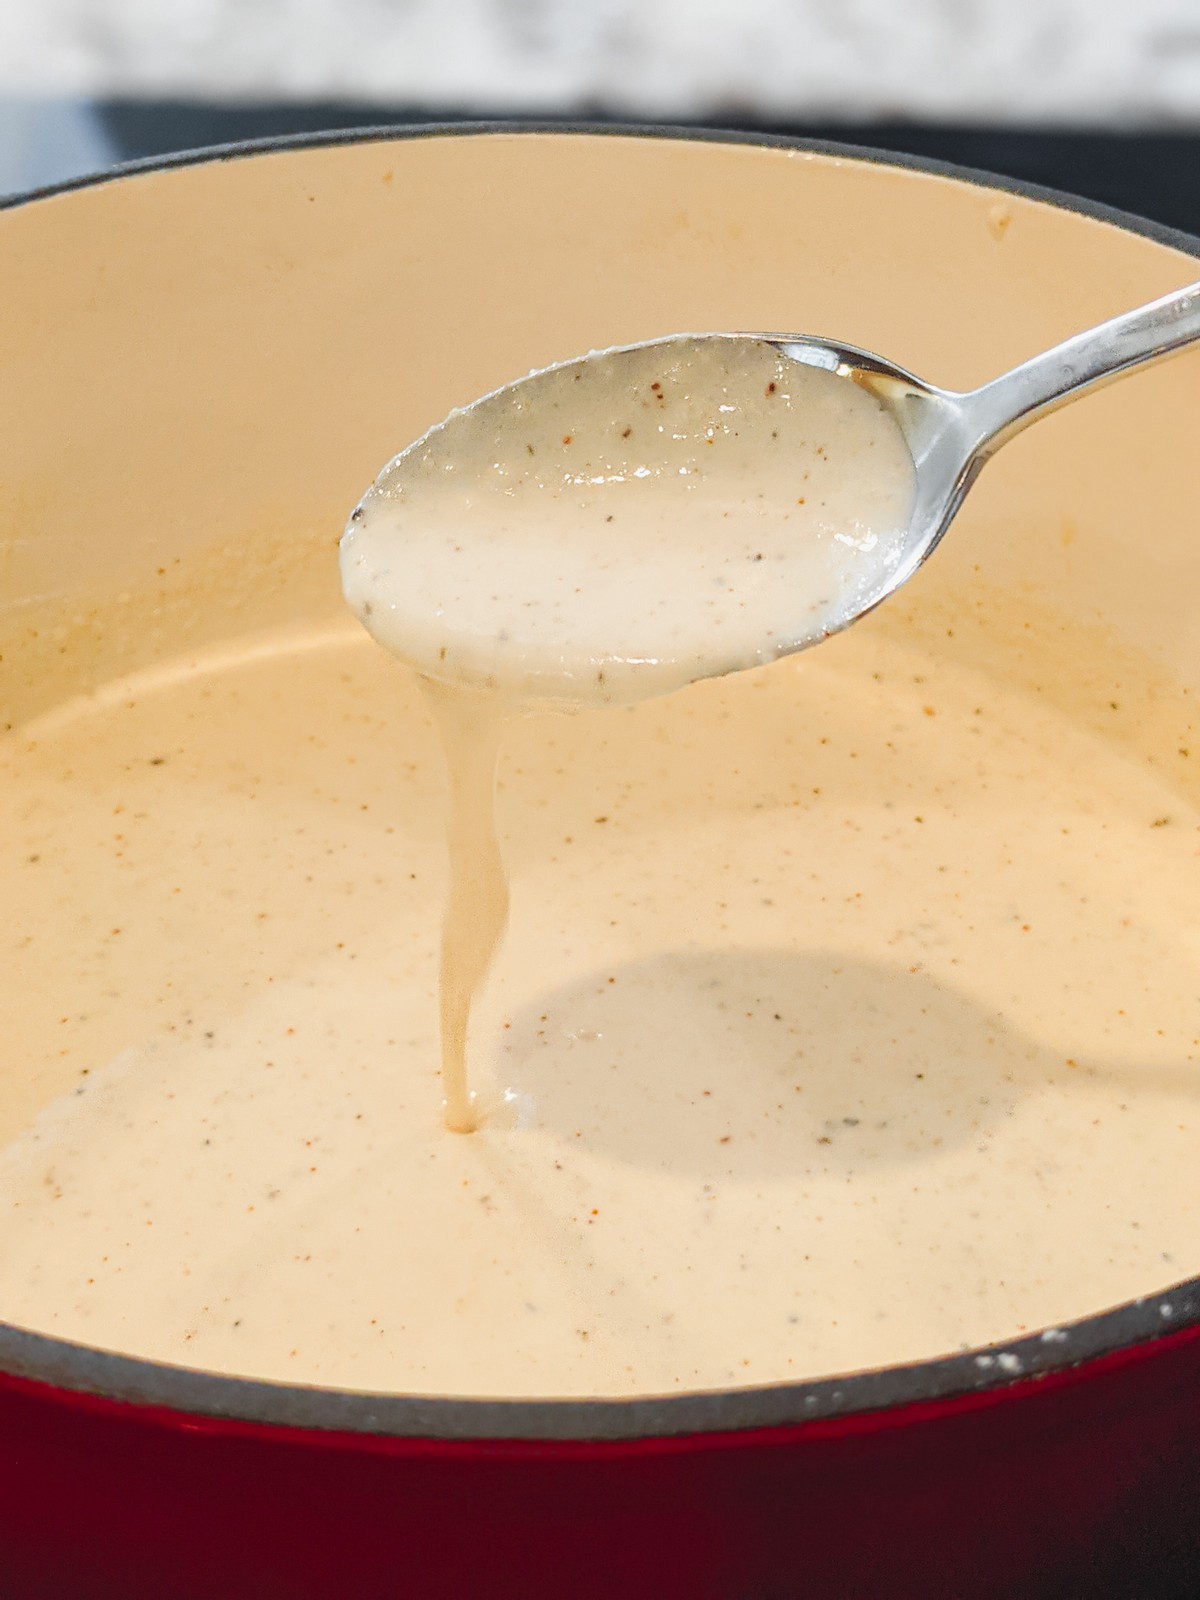
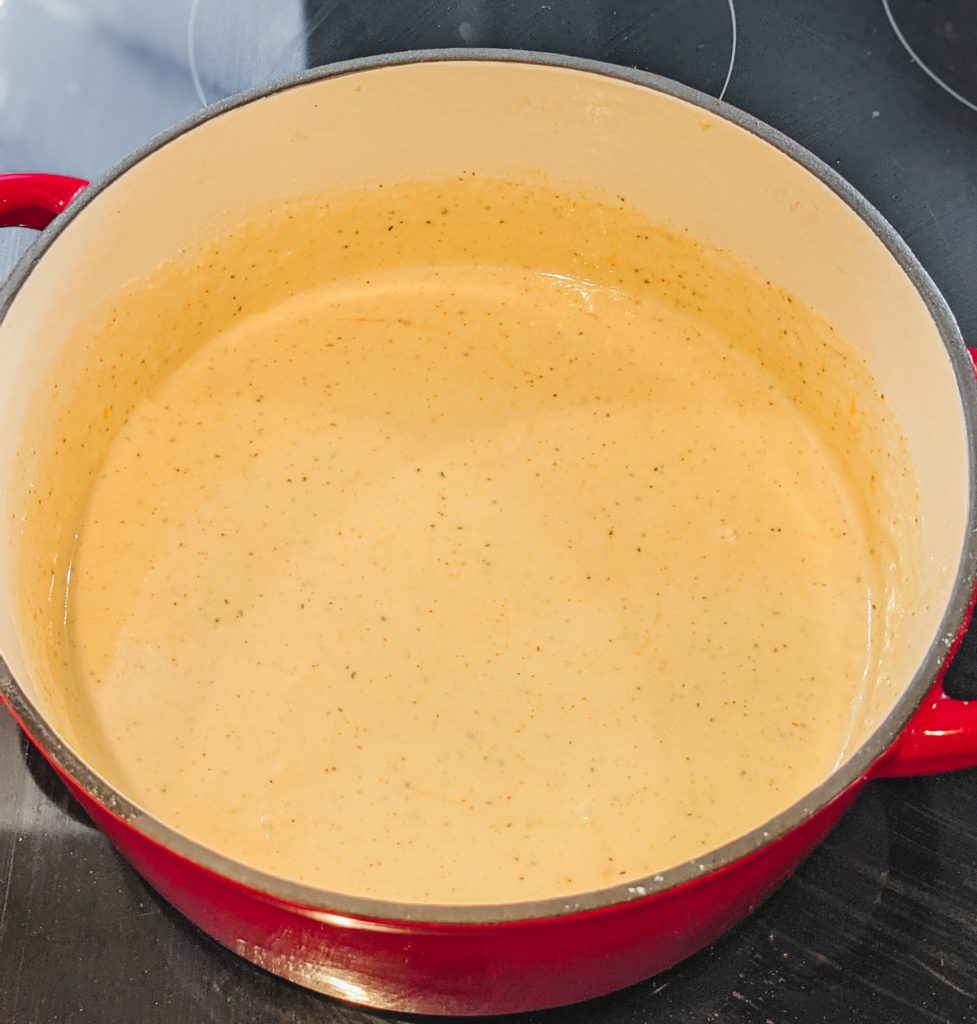
The mixture should begin to thicken, and should stick to the spoon when poured off.
Step 2: Add the cheese.
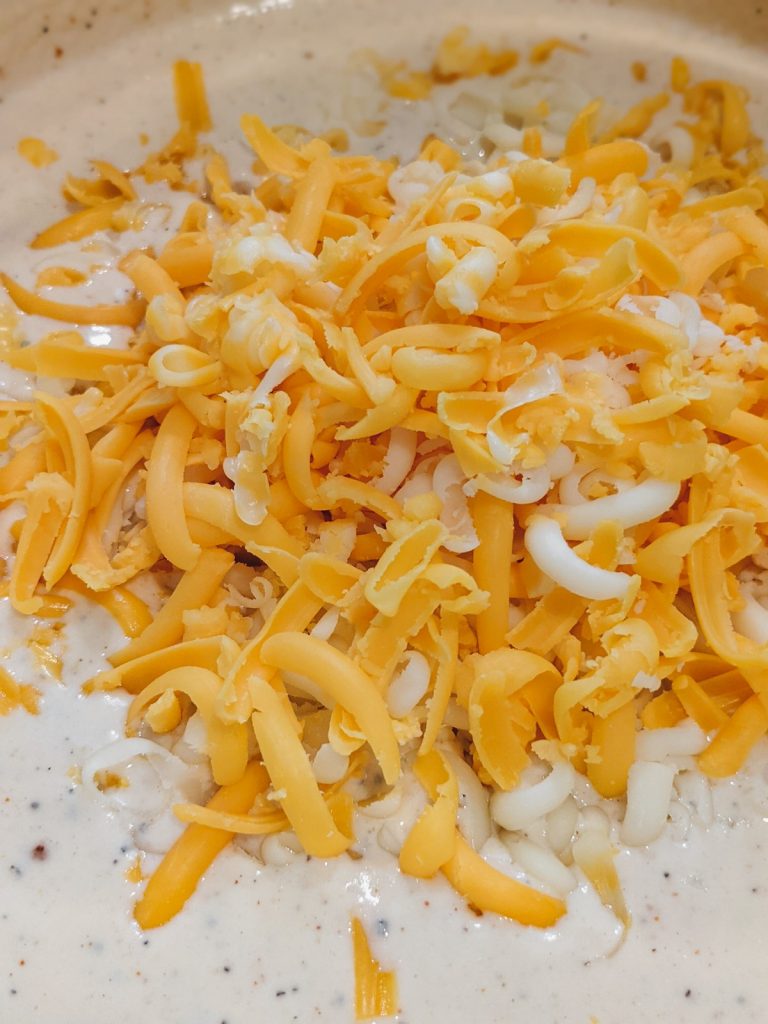
When the roux is nice and thickened, add in the cheese and stir until everything is melted and silky smooth.
Step 3: Add the pasta and sauce to a dish.
After the cheese has melted, add the cooked pasta to the sauce and stir until all the noodles are well-coated.
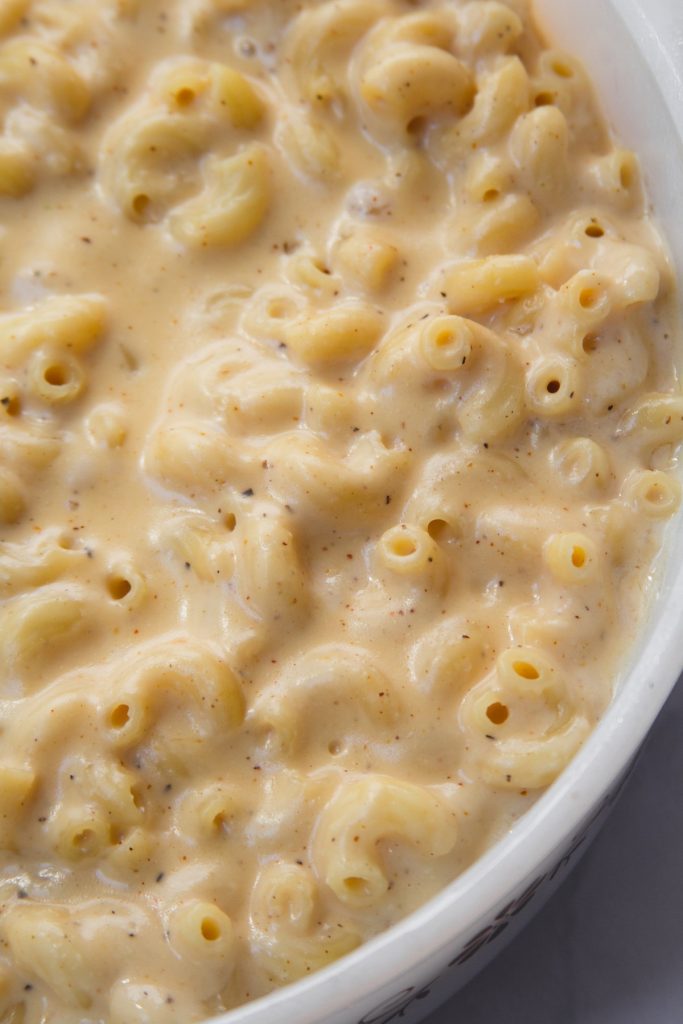
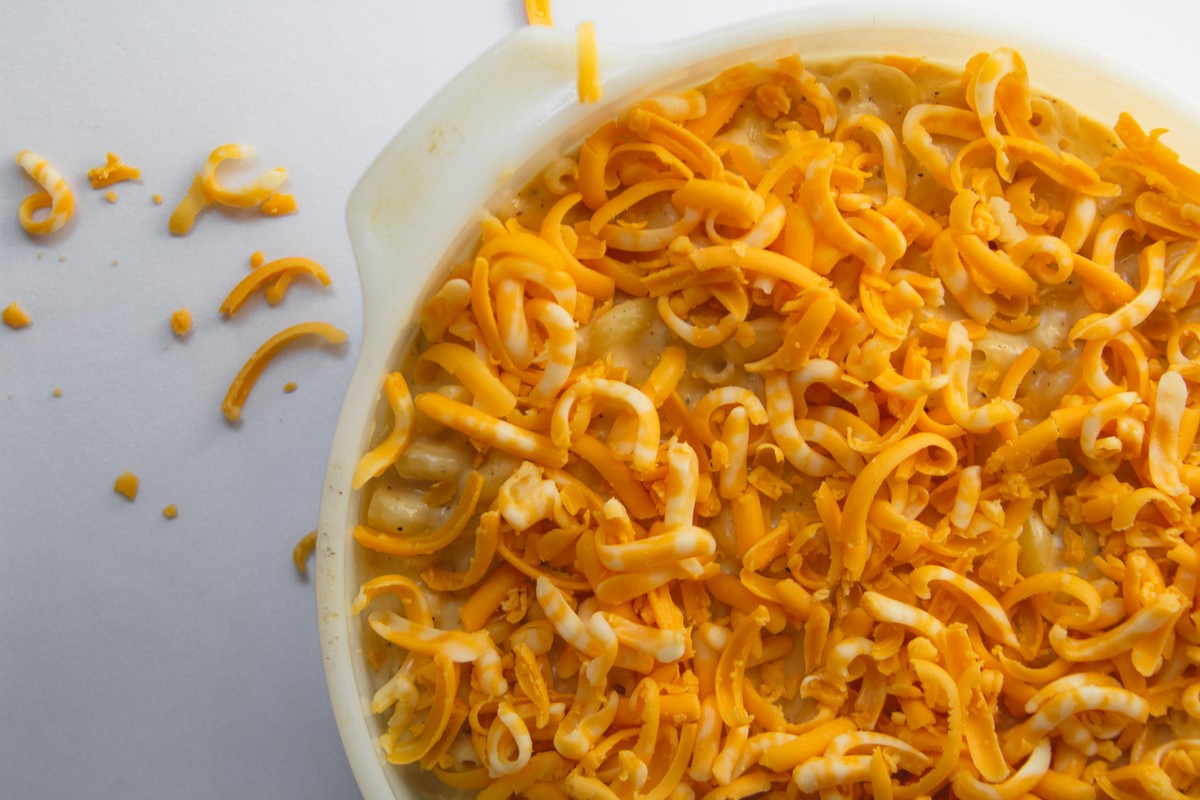
Then, add the mixture to a greased 3-quart baking dish. Top with more cheese…
Then, bake! I like to broil for a few minutes at the end of the cooking time to give it a little color and extra crisp around the edges.
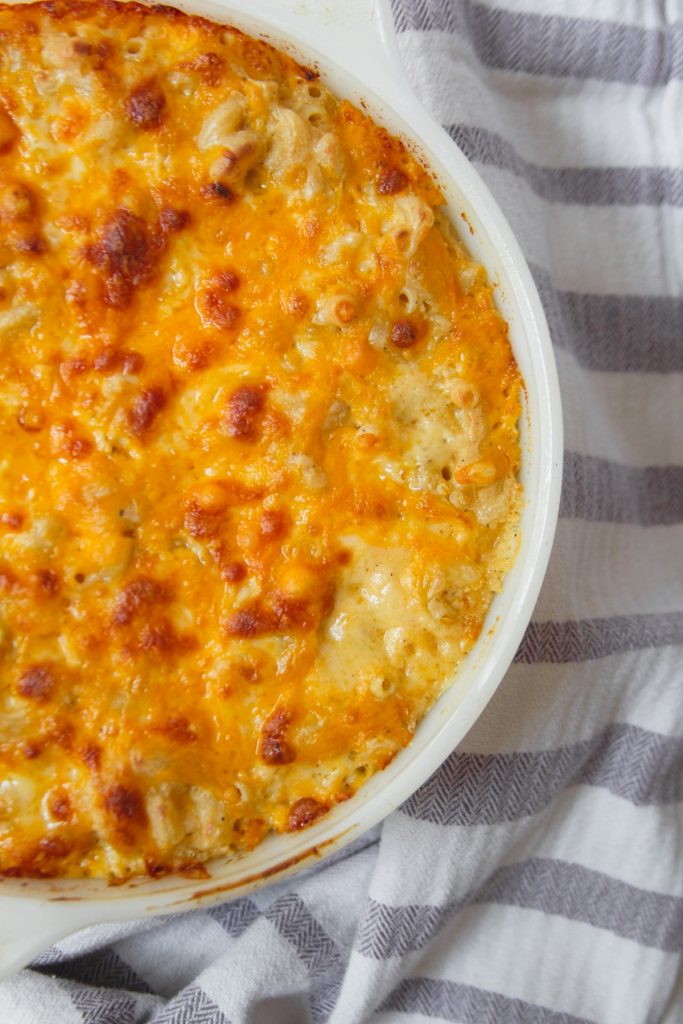
Tips for creamy baked mac and cheese
Use freshly grated cheese
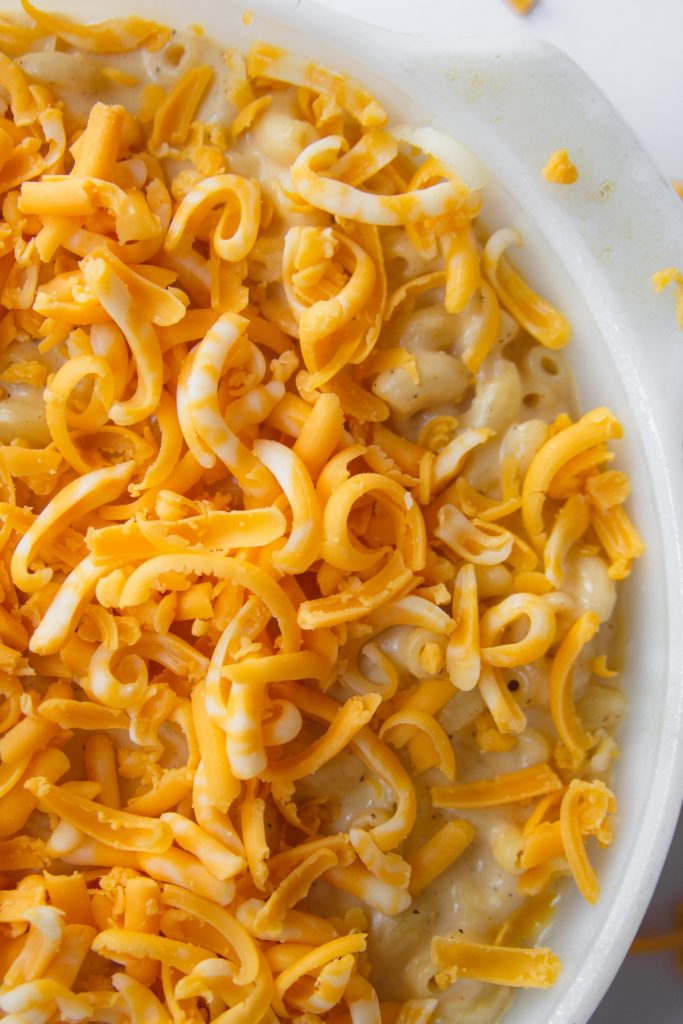
Shredding cheese by hand is a pain, but it’s really the only way to get the cheese melted and smooth. Pre-shredded cheese from the store is coated with a chemical that prevents the cheese from sticking together and well…melting.
The best kind of cheese for mac and cheese
I used a combination of mozzarella, colby jack, and sharp cheddar cheeses. Sharp cheddar is one of the more popular cheeses for this dish, but you could also use pepper jack, parmesan, medium cheddar, or any other combination of cheese for your tastes.
I do recommend including at least a little bit of sharp cheddar for that flavor punch!
Don’t overcook pasta
The pasta should be cooked to “al dente”, meaning that it’s just ever-so-slightly undercooked. For this recipe, cook your pasta about 2 minutes shorter than the instructions recommend.
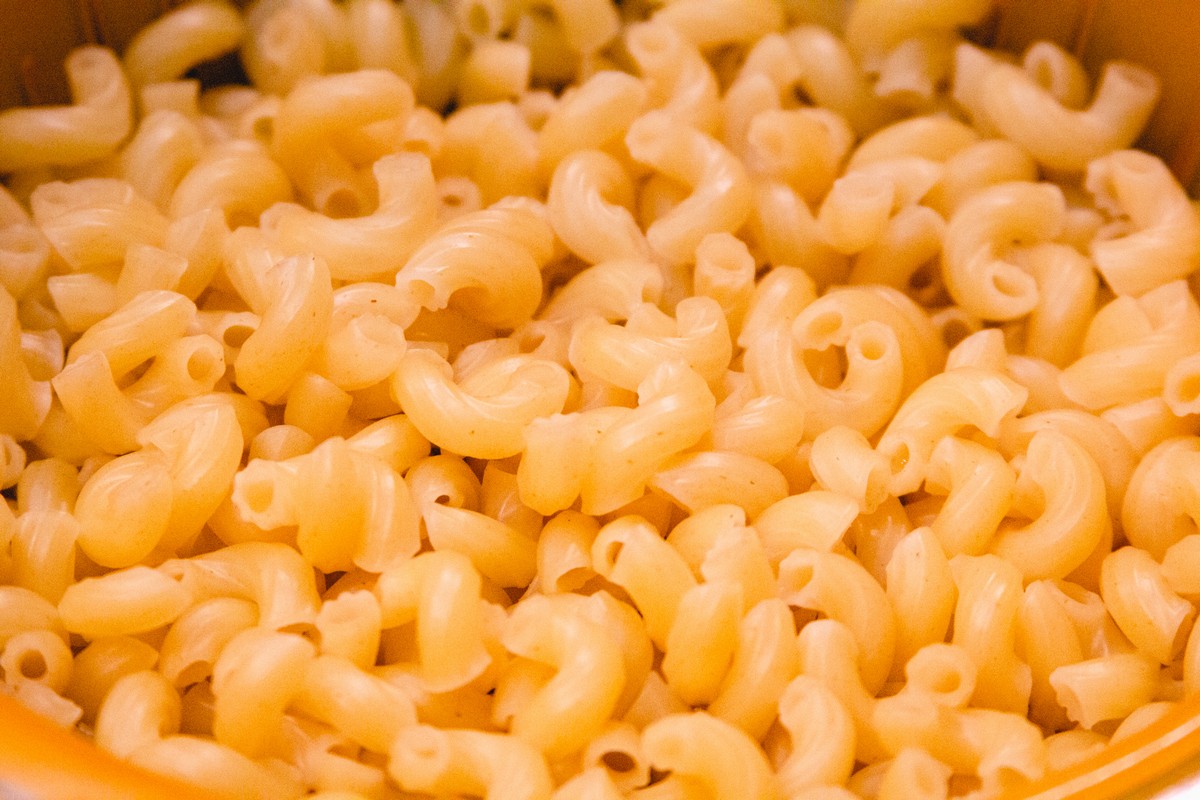
For example, if the instructions say “cook for 7-10 minutes”, cook the pasta for 5 minutes. Then, drain and set aside. The pasta will continue cooking as it’s added to the melted sauce and then in the oven.
Otherwise, you could end up with bloated, soggy pasta… and that texture is not a good one!
Stir constantly
This recipe calls for making a blonde roux (don’t worry, it’s easy!), which means a lot of stirring is involved.
As you are creating the roux, you want to be sure:
- Your flour and butter don’t burn
- As you are adding in the evaporated milk and heavy cream, you are continuously whisking to avoid a lumpy, separated cheese sauce.
Plenty of sauce
Plenty of sauce is key to creamy mac and cheese!
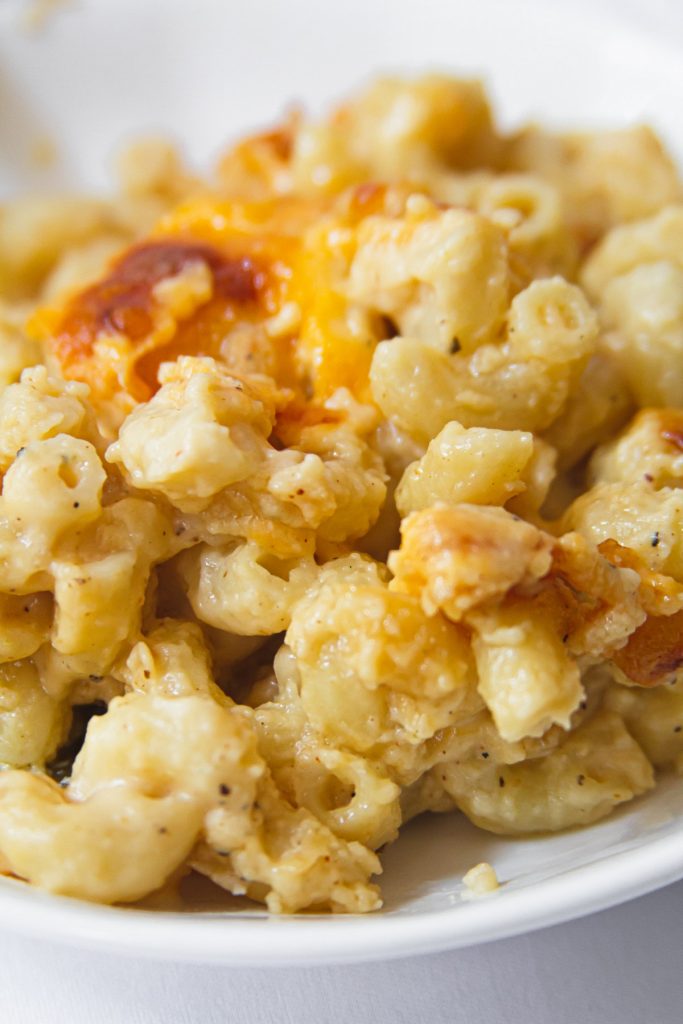
If you choose to use another type of pasta, instead of elbow noodles, you might need to reduce the amount of pasta added to the cheese. Also, make sure you are choosing a noodle that will “grip” onto the cheese sauce. I’ve got plenty of pasta info right here!
The best way to do this would be to prepare the same amount of noodles as the recipe below instructs, then add the pasta until you are satisfied with the sauce to noodle ratio.
What to serve with mac and cheese
Mac and cheese has an excellent reputation for being a meal in itself, but if you are serving this as a side dish, consider these as the main course:
- Brisket
- Ribs
- Pork Shoulder
- Porkchop
- Rotisserie chicken
- Chicken wings
- Any other protein
Add-ins for mac and cheese
This recipe is great as is, but you could always add fried onions on top, mix in pulled chicken or pork, lobster, crawfish, shrimp, crab meat…anything that sounds good to you!
Making mac and cheese ahead of time
You can make this ahead of time, but skip the baking. Follow the instructions up to the oven baking, then, cover with plastic wrap and fridge for up to three days.
When you are ready to bake, remove from the oven and allow to rest on the counter for 30 minutes. Place in the oven (uncovered) and bake.
Storage tips
This can be stored for up to 3 days in an airtight container or in the casserole dish it was cooked in.
FAQ: Baked Mac and Cheese
This recipe is great as is, but you could always add fried onions on top, mix in pulled chicken or pork, lobster, crawfish, shrimp, crab meat…anything that sounds good to you!
Sharp cheddar cheese is best and the most popular for mac and cheese.
You can use evaporated milk, heavy cream, or half and half.
Use elbow macaroni noodles for the best results. Any noodle with grooves and ridges will also work.
Pour the milk in slowly while whisking constantly.
Best Baked Mac and Cheese Recipe
Ingredients
- 16 ounces elbow macaroni uncooked
- 4 tbsp. butter
- 2 tbsp. flour
- 12 oz. evaporated milk
- 1 cup half and half
- ½ tbsp. onion powder
- ½ tbsp. garlic powder
- ½ tbsp. Creole seasoning
- ¼ teaspoon cayenne pepper
- ½ cup mozzarella cheese grated (about half of an 8-ounce block of cheese), plus more for topping
- 1 cup sharp cheddar Cheese grated (about half of an 8-ounce block of cheese)
- 1 cup colby jack cheese grated (about half of an 8-ounce block of cheese), plus more for topping
- ½ teaspoon black pepper
Instructions
- Cook pasta “al dente”. Drain. Set aside.
- Over medium heat, add the butter to a heavy-bottomed pot or Dutch oven and melt.
- When the butter has melted, whisk in the flour about a tablespoon at a time – whisking constantly! You may need to reduce the heat slightly to prevent the flour and butter from burning. Continue cooking for about 1 minute, constantly whisking.
- To the pot, slowly add in the evaporated milk in a steady stream, constantly whisking. Follow with the half and half, still whisking all the while. Gently simmer until the mixture begins to thicken.
- Add in the seasonings (onion powder, garlic powder, creole seasoning, and cayenne), and stir to combine.
- Stir in the cheeses (reserving the 1 cup for topping) and stir until well-combined and melted. The mixture should be silky smooth.
- Then, add the cooked pasta to the pot. Stir to combine.
- Transfer the mixture to a lightly greased 3-quart baking dish, and top with the remaining cheese.
- Bake at 375 degrees Fahrenheit for 20 minutes uncovered or until gold and bubbly.
- If desired, top with additional cheese, and broil on low for 1-3 minutes for additional color and crispiness on top.
Notes
Serve this with:
- Brisket
- Ribs
- Pork Shoulder
- Porkchop
- Rotisserie chicken
- Chicken wings
- Any other protein


I may have used more cheese than I needed as a minor oversight so it was kind of thick but still very good.
I recommend using less cayenne. It was way too spicy
Good recipe. I recommend using less garlic and onion powder than the recipe calls for. It’s a bit overpowering.
Hi Taylor, That’s good to know! Thank you for sharing that feedback with me. I hope you still enjoyed the mac and cheese! 🙂